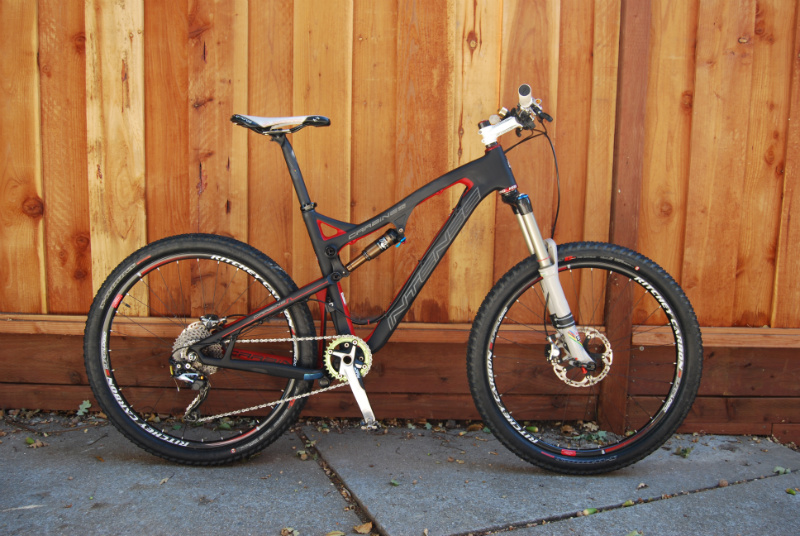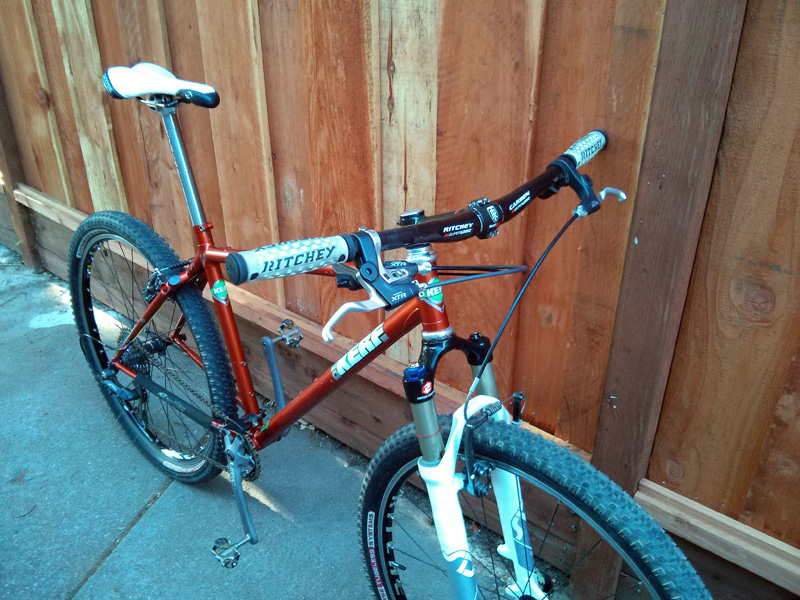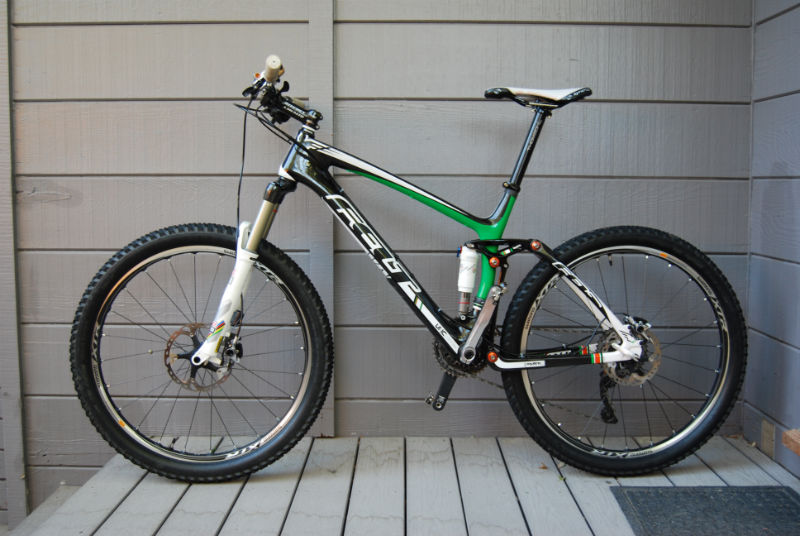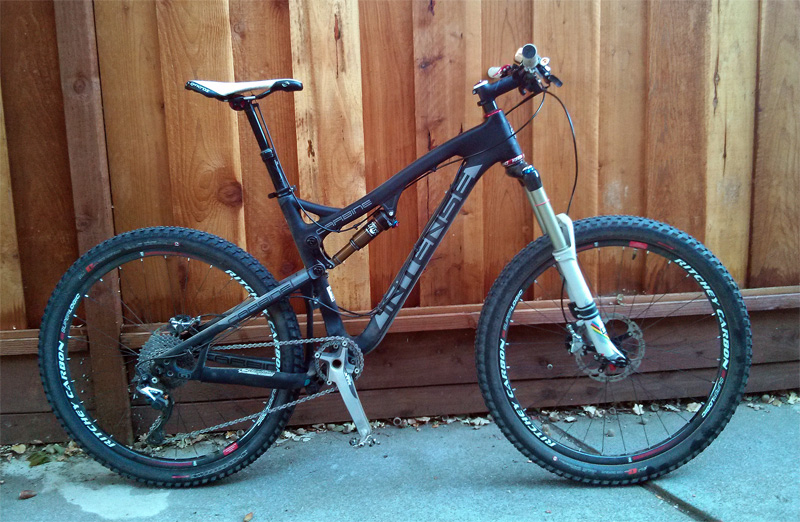
This is the new 2014 Intense Carbine! I discovered a molding defect on my Carbine SL when I attempted to install a dropper seatpost. The seattube had some very deep grind marks in the tube:
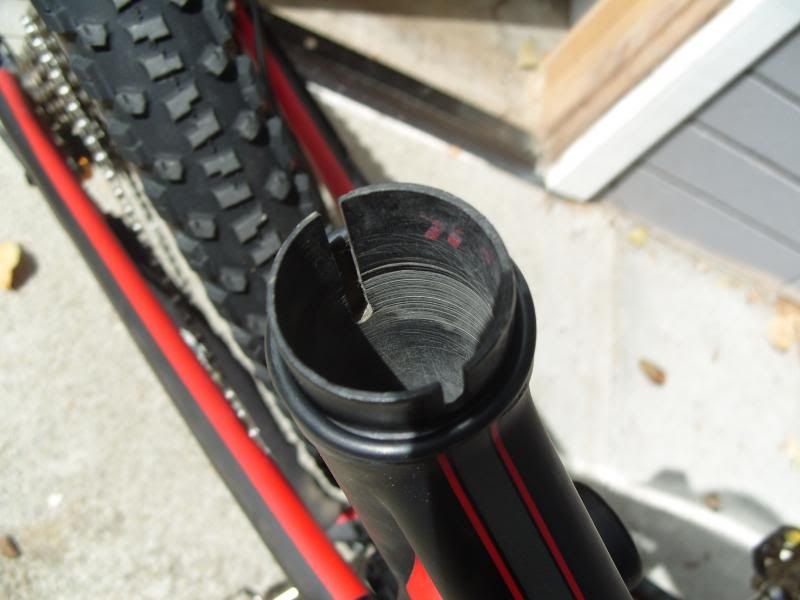
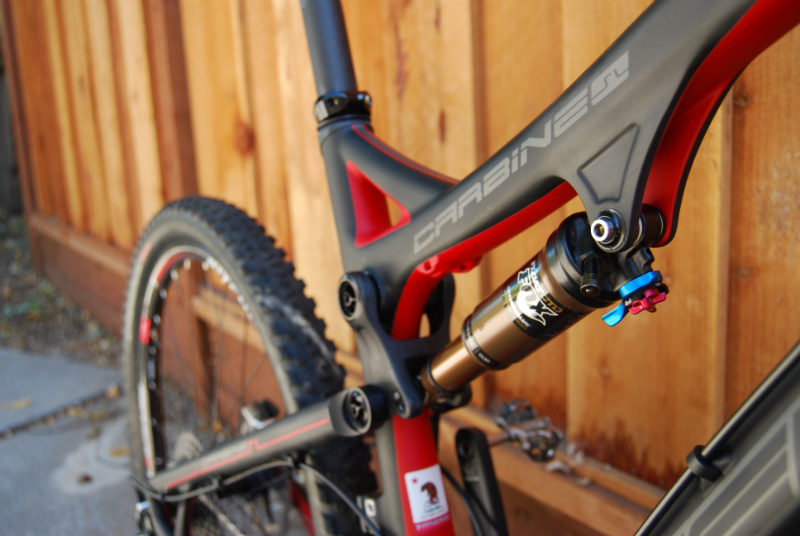
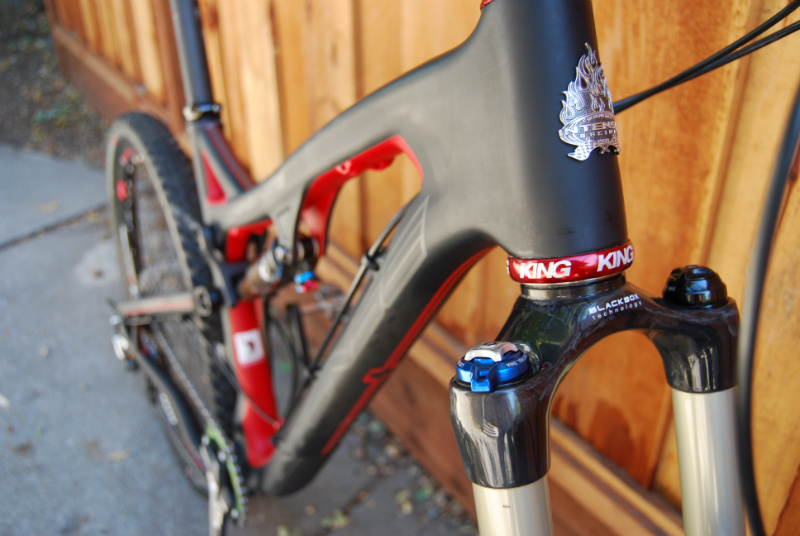
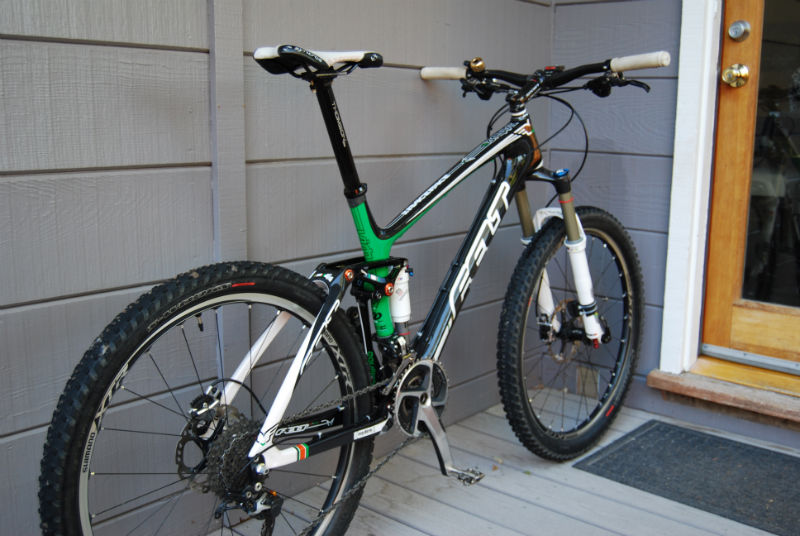
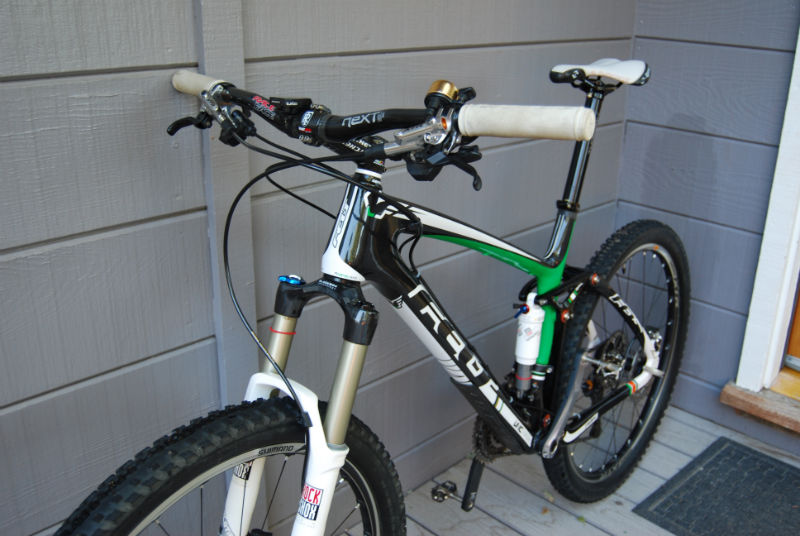
It’s my opinion that Intense (or whomever manufactures these for them), preps the tubes a bit and somehow created these marks. Intense says that they don’t use any sort of process as their molding technique does not require it. In any case, I contacted them and they had me send it in for a closer look. A week later, they called me and said they would cover it under the warranty. Since they didn’t have any of the Medium SLs left, they offered a clean swap for their new 2014 Carbine frameset instead. I was happy with this option, as I knew that the Carbine was only about half a pound heavier (due to non-Ti bolts and Alloy upper linkage) than the SL. But the nice thing about the Carbine frame is that it uses their “G1” dropout system, which means you can swap in 27.5/650b compatible dropouts if I want to upgrade to the latest fad wheel size. Another bonus is that the rear shock is configured for 140/152mm (5.5/6.0″) travel vs 120/135mm for the SL.
Turns out the frame is only marginally heavier at 5.40lbs for the bare frame, versus 5.04lbs for the SL version.
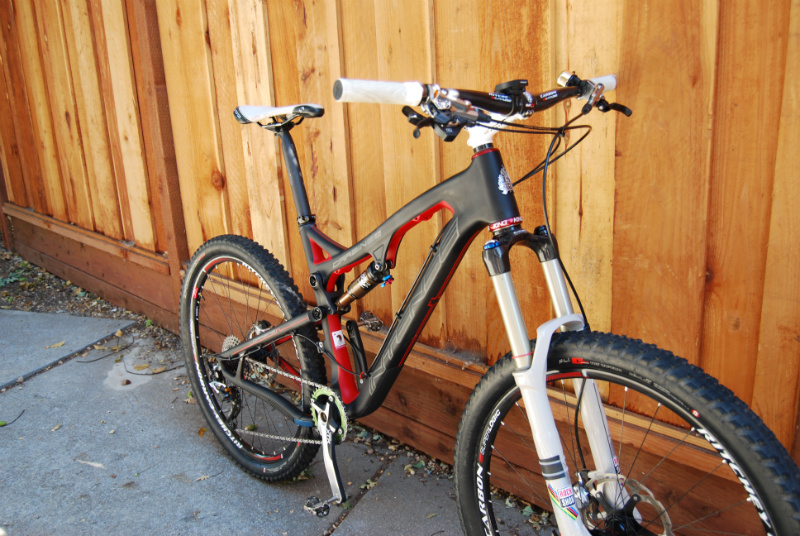
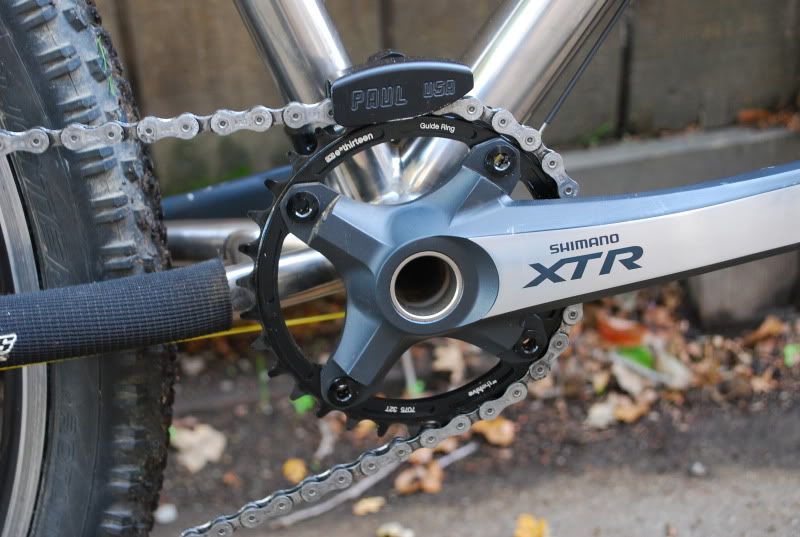
I swapped over the parts from the SL and left the rear shock at the 140mm setting for now. I also added a Specialized Command Post BlackLite dropper post, after trying out a KS Lev Integra and non-Integra (more in another post about that).
Total build weight came to a nice and light 24.32lbs with pedals!
Sure it’s a somewhat weight-weenie build considering the nature of this trail category bike, but it’s more than tough enough for my riding and trails so I’m pretty happy with it.
Update 01/28/14:
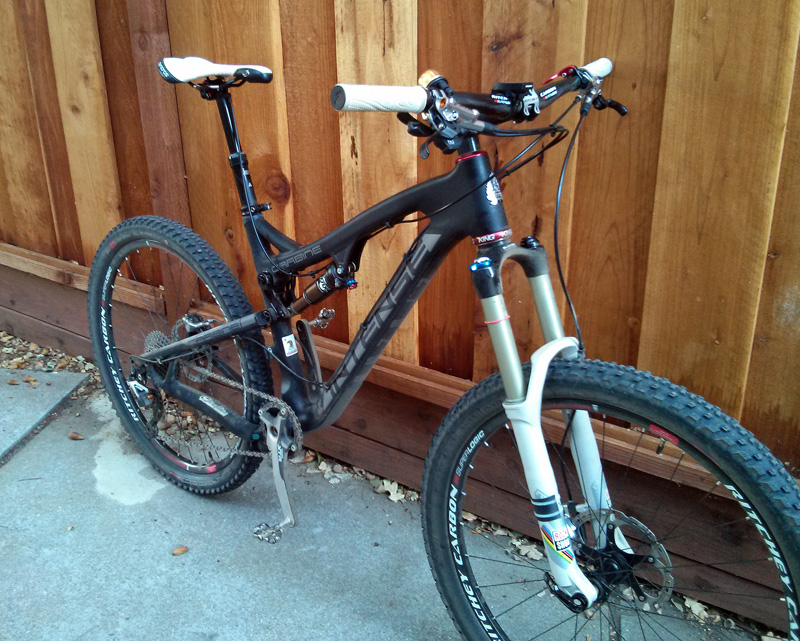
OK, so I’ve had the Carbine for a few months now and have some updates on how it rides. Until last weekend, I had it in the 140mm rear setting. But it never felt right. The rear seemed overly harsh and I felt like I was getting pretty beat up on the trails. It wasn’t a bad ride per se, but not exactly what I was expecting from one of the “best” trail bikes available today. In fact, I would say it wasn’t even as good as my old ‘09 Fuel EX in terms of ride quality and feel, and that bike only had a 120mm rear!
So last weekend I decided to try the 152mm (6″) setting in the rear and to my surprise, I had to pump into 140psi to get the rear back up to 30% sag. (previously I was running 120psi at the 140mm setting to achieve 30% sag). Hmm, that’s interesting. Why would changing the shock setting induce so much more sag? I have no idea, but I immediately felt the shock actuate much more freely and actively than before. All of a sudden, it was PLUSH! WTH??!
Anyway, I took in on my usual trails last weekend and wow, what a difference! I only used about 90% of the total travel, but the rear was super plush now and I never felt any of the harshness that I did before. I could feel the bike compressing on the hits and smoothly coming back up ready for the next one. Best of all, my body wasn’t beat up at the end of the ride. I’m going to continue to experiment with the 152mm setting and maybe switch back to compare some more.
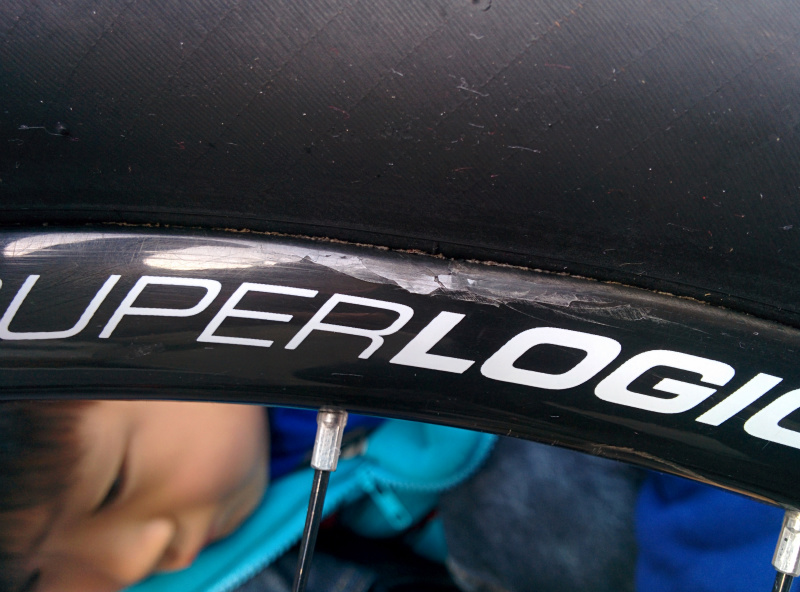
Another update I have is that I managed to crush part of the rear rim on once of my last rides. I’m not sure how I did it exactly, but I suspect it was from hitting a rock from the side of the wheel and not from a direct impact from bottoming out on one.
The damage wasn’t too bad. The affected area is about 4-5mm deep:
I ended up taking the tire off, cleaning and sanding the area a bit and applying some Gorilla epoxy to patch it up a bit. The wheel is still totally true and round and holds tubeless just fine as well. I’ve since ridden it 3 times with no issues, but you never know…
I contacted Calfee about a fix and they said there wasn’t enough material to do it properly. Ricthey has all but sold out of these wheels/rims, plus they’ve been discontinued for a while anyway. They did have a “WCS” version of the carbon rim available (apparently just a different finish than the Superlogic), but at $400, I passed on it. I didn’t want to have a mismatched set either.
So this all got me thinking about upgrading to 27.5 wheels. Unfortunately, I have expensive tastes, but I don’t like to spend a lot of money. A new 27.5 carbon wheelset plus a compatible fork (RS Pike) would probably set me back at least a couple G’s or more. Ouch.
Lo and behold, ebay came to the rescue! A seller in Greece had a pair of new Superlogic rims for sale! I sniped in a bid and got them for just under $400 shipped and they should be here in a few weeks.
Well, now that I’ve sorted my rim issue, I’ve also sort of dedicated my wheel size to 26 for the time being. I’m happy with that. Everything I’ve read about the 26 vs 27.5 size is that there’s not that much of a difference in terms of real world feel. I think if you are buying a new bike, sure 27.5 makes sense. But if you are like me, and have a big investment in 26″, it may not make much sense to spend that much money on a 27.5 upgrade when the performance difference may be negligible.
To that end, I’m now in the process of collecting the necessary parts to convert my Carbine rear to 142×12 and changing the axle of the rear Superlogic (a rebadged DT 240s) to 142 as well. That should stiffen things up a bit back there.