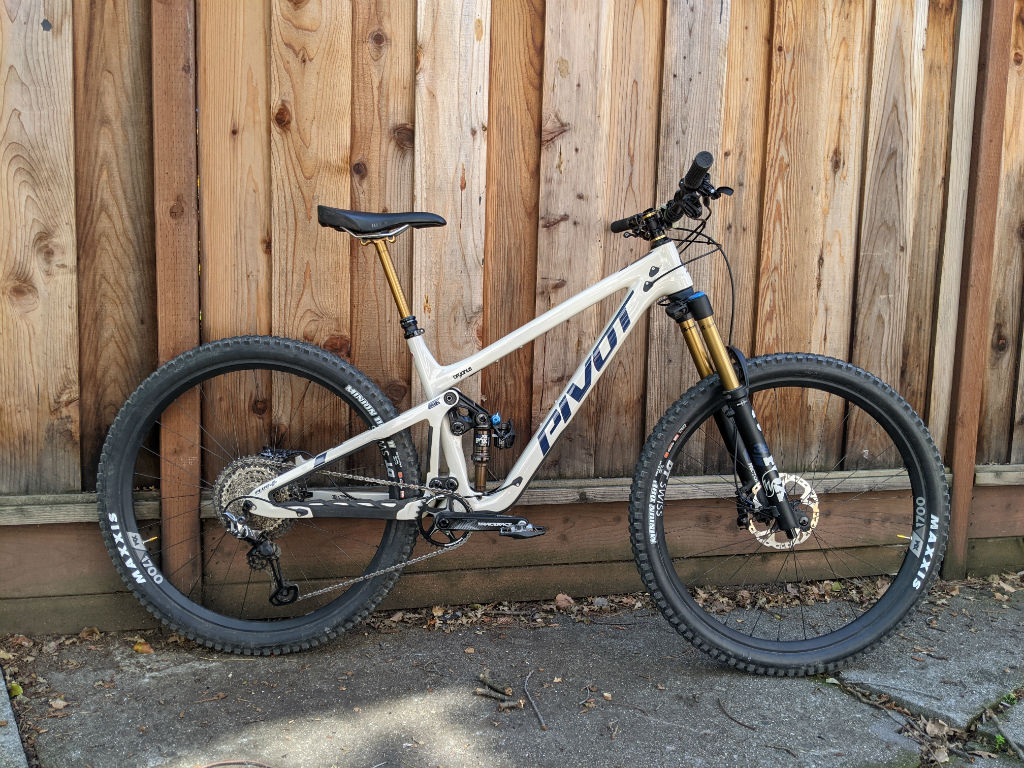
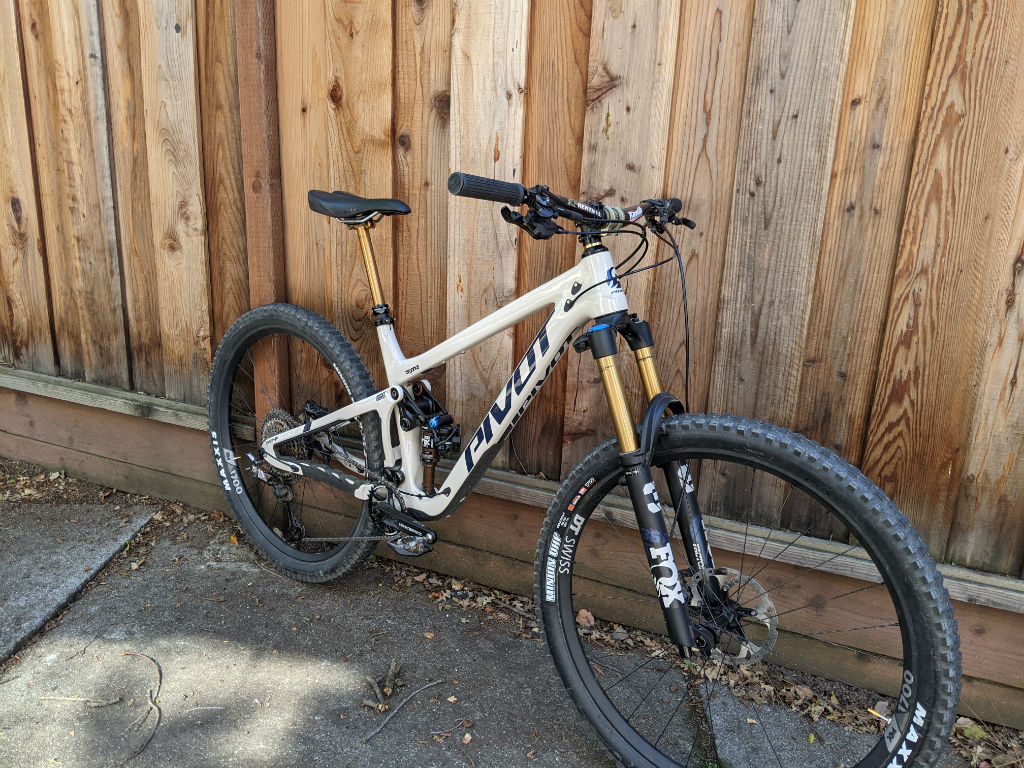
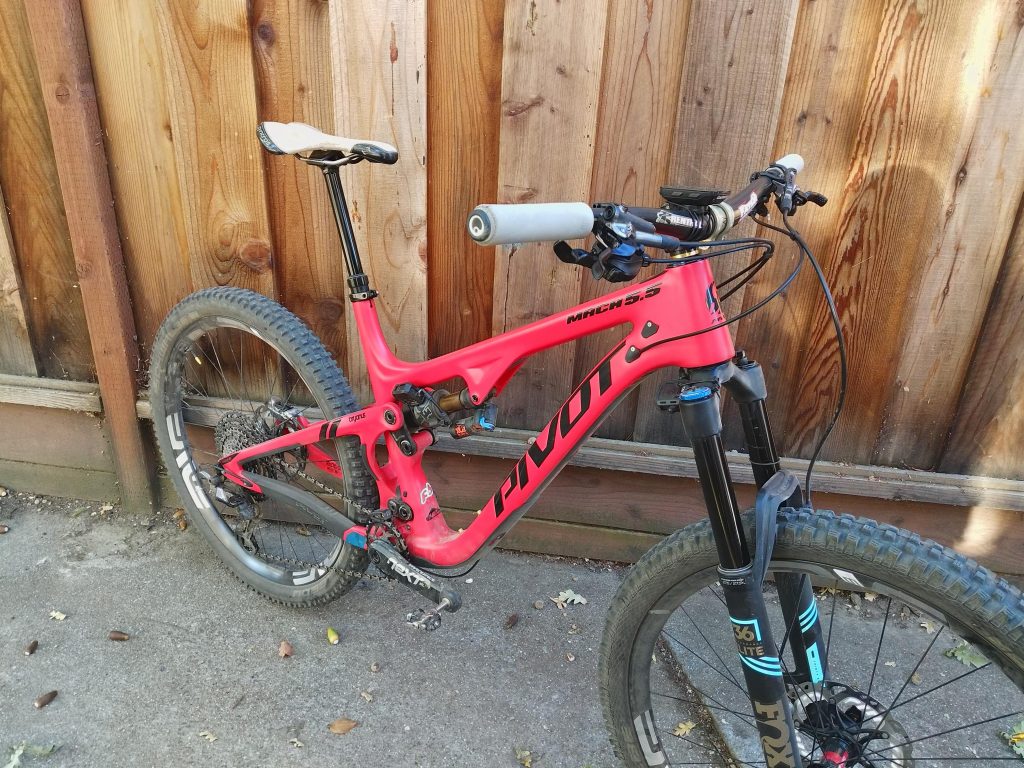
This is a job that probably every S54 owner dreads. I know I did. According to the Internets, my Z4 M with 88K miles was within that danger zone of catastrophic failure. And not having much insight into the previous service history or maintenance, I felt like I was driving a ticking time bomb!
So I contacted some shops in the area for quotes, and after a recommendation from Reddit I got in touch with Wing at VT Motorworks in Pleasanton. What I immediately liked about Wing was that he was very responsive to my messages and also offered me lots of advice and guidance.
After some back and forth, Wing suggested that I first get a used oil analysis even though I didn’t have any prior UOAs to reference. He said it would still be better than nothing and give me a better idea of how the bearings were doing.
So I did an oil change myself and sent the sample to Blackstone. It took about 3 weeks to get an analysis back. My sample only had about 2,400 miles on it, but the analysis showed very high lead levels (22ppm) and also higher than normal Iron. According to the report, “Iron is from steel parts, and lead is a bearing metal. These two metals together suggest poor wear at a bearing/shaft interface.”
Well, that pretty much told me everything I needed to know and I decided to get the job done asap. The question then came down to whether I would try the job myself, or have VT do it. But upon contacting Wing, I was told the next open spot was almost a month away! Normally that wouldn’t be a problem, but I had been planning a drive down to LA before they would be able to see me…
The job took me about 3 days: Day 1: Tear down subframe and components to make room. Day 2: Access and remove oil pan, swap in bearings. Day 3: Install oil pan and restore subframe and engine components.
Guides: I primarily used the FCP Euro video and bimmerfan08’s big writeup for the m3 e46. The offical BMW service bulletin is also handy. I also watched and Google’d as many videos and posts I could to try and build up my confidence. This writeup won’t be a full DIY guide, but will just be another overview with some added tips specifically about the Z4 M.
Parts: I went with BE Bearings and ARP Bolts. This is what Wing@VT uses so I just went with that. They are expensive! I had a 10% coupon from FCP Euro so I picked up most of my parts from them. I also bought the ARP Stretch Gauge (very pricey!). Here’s the parts list:
ARP Connecting Rod Bolt set – ARP 201-6102, $123.99
BE Bearings SPF1534F $399.00
BMW 10W60 Oil Change Kit $79.87
BMW Suspension Subframe Reinforcement Plate Bolt (8 pcs, $36.72)
BMW Oil Pan Cover Gasket $9.99
BMW Oil Pan Gasket $17.29
BMW Engine Oil Level Sensor Gasket $5.39
BMW Oil Dipstick O-Ring $5.49
BMW Engine Oil Pump Pickup Tube O-Ring $7.69
Red Line Assembly Lubricant 80312 $10.49
Optional:
You may also want to change your engine mounts if yours are worn, as they are easily accessible when the subframe is dropped. Mine had already been changed recently, but I did opt to change my drive belts as part of this job.
Tools: You’ll need your standard set of metric sockets: from as small as 8mm up to 18mm, 16mm Spark plug socket, e10 and e12 Torx sockets, 4 and 6mm hex sockets/keys, torque wrench, 1/4″ and 3/8″ ratchets, 32mm socket to turn the crank, Harbor Freight engine mount, ARP Stretch Gauge, and wheel lug socket/breaker bar. For the ARP Bolts, you’ll need a 7/16″ 12-point socket.
Everything went pretty smoothly. My biggest concern was actually how to drop the subframe and access the oil pan and not how to change out the actual bearings. I wasn’t sure if there was a way to do it without draining various other fluids and/or needing some other special tools. Turns out, the way FCP did it, I didn’t need to remove the whole steering rack and kept everything on the car; it just swung down enough to squeeze the pan out and nothing else had to be drained, etc. This is a lot easier and isn’t as messy!
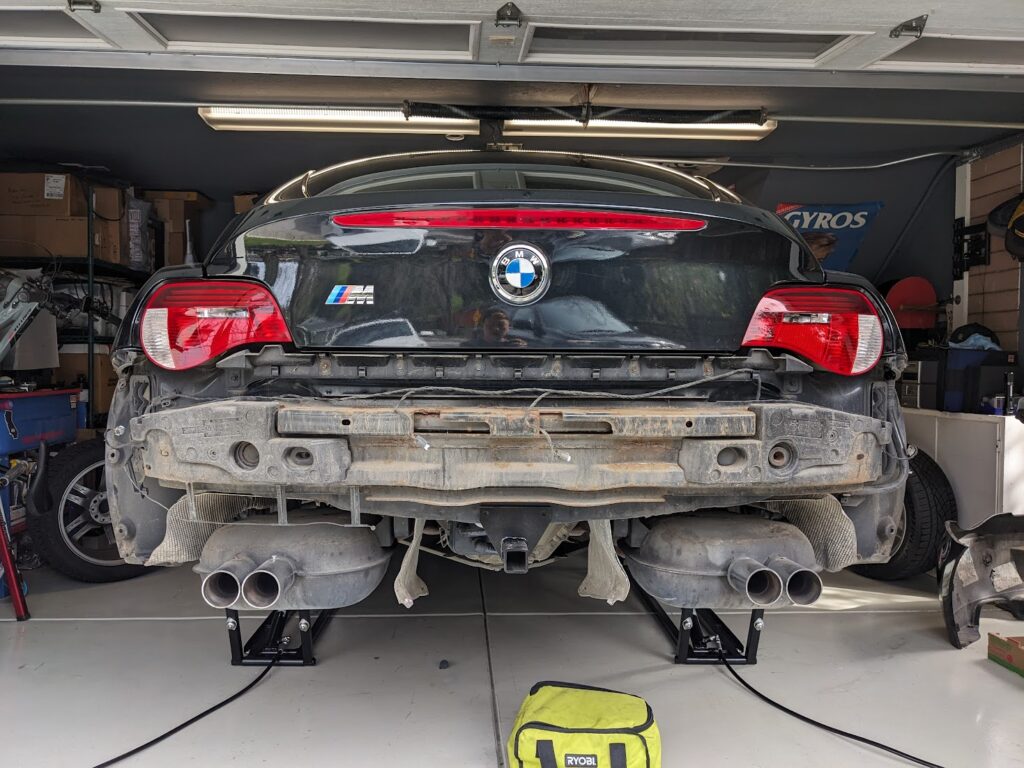
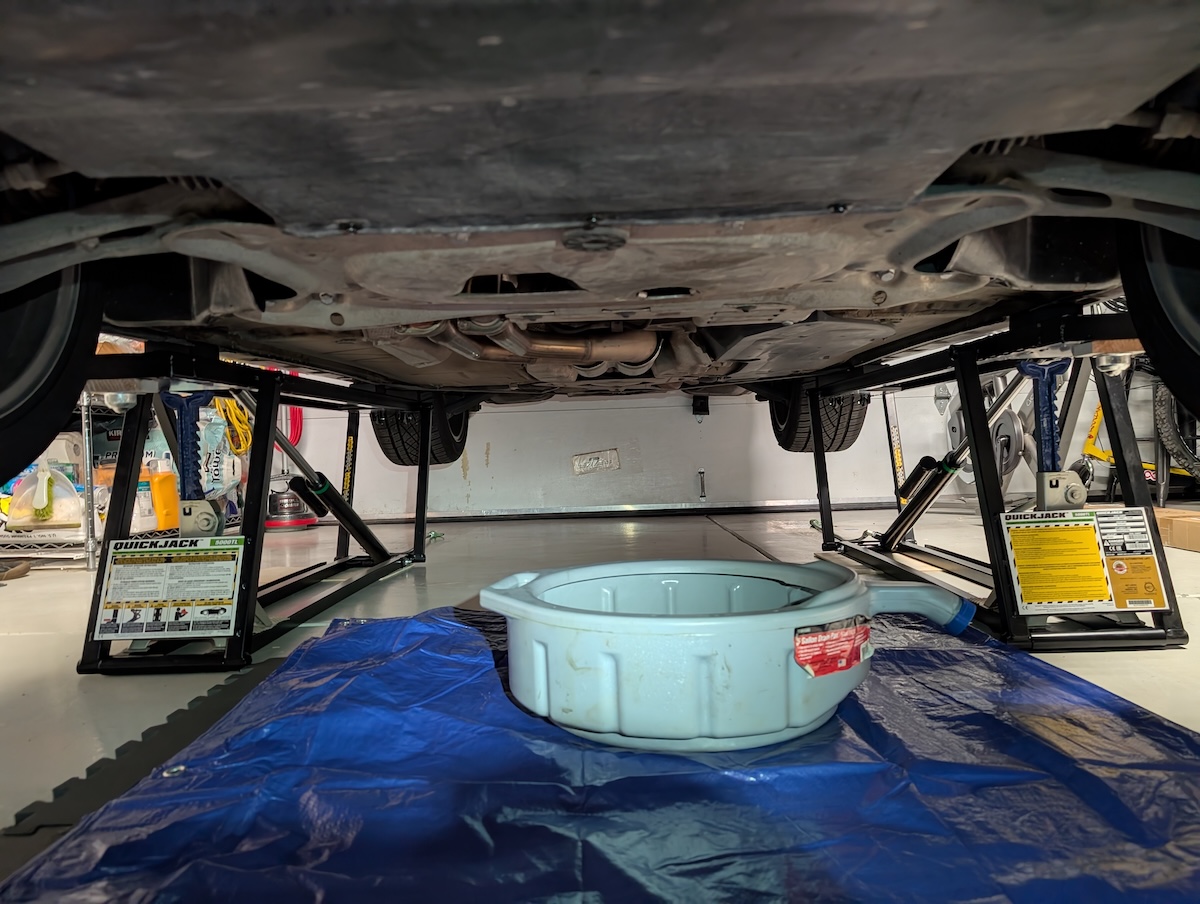
The first step is to release the wheel lugs so you can then remove the wheels for more clearance. I used my QuickJack 5000TL on the highest setting, but you can use a jack and stands as well.
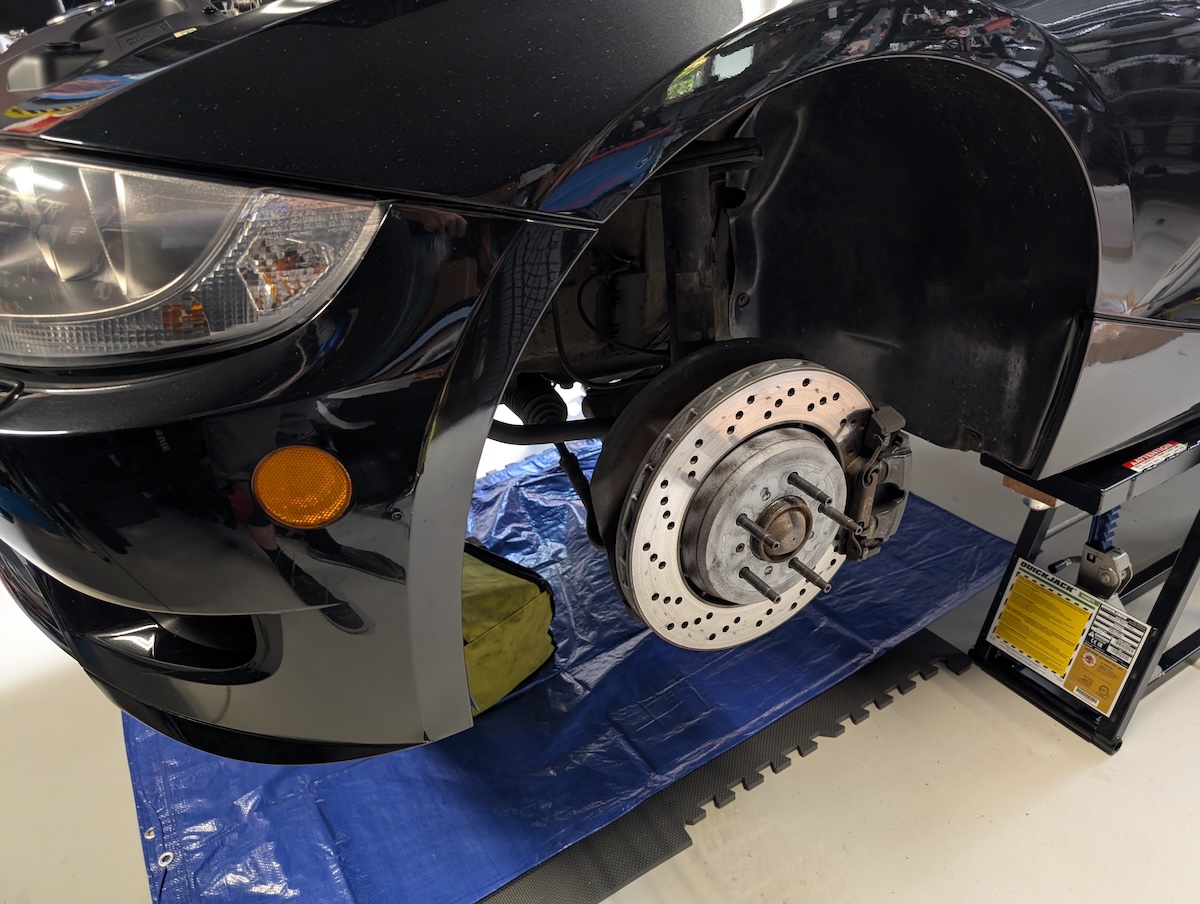
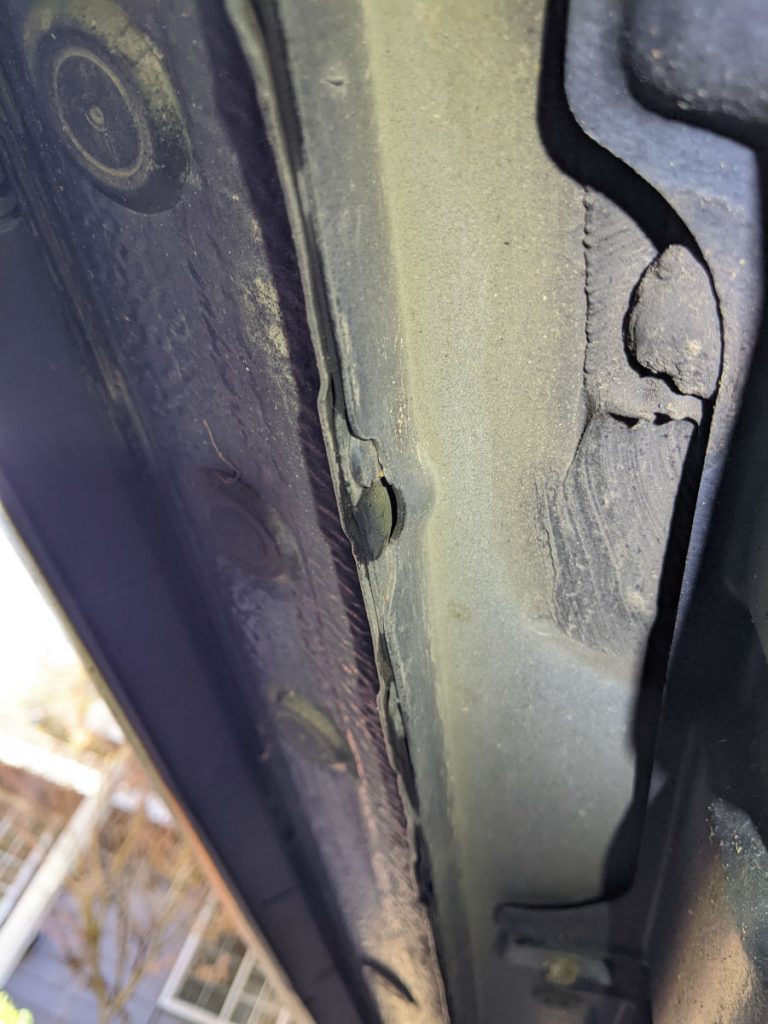
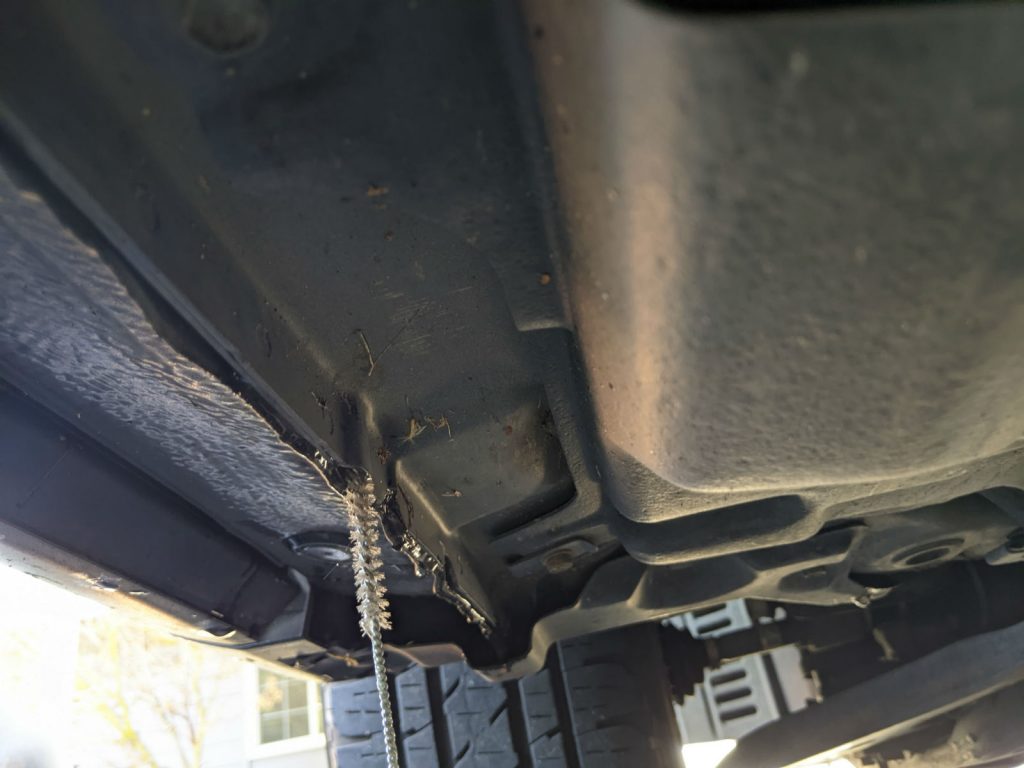
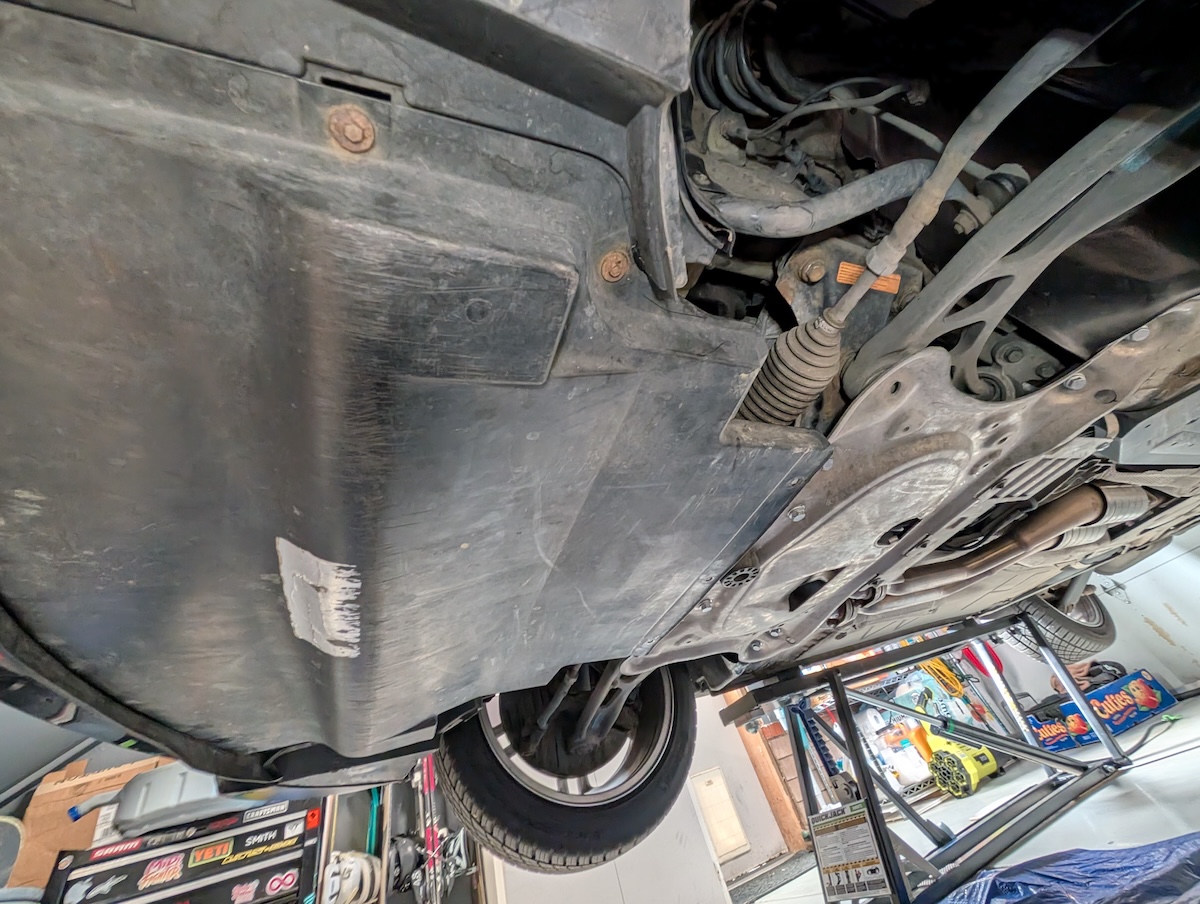
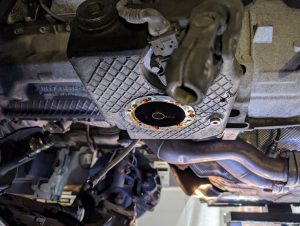
Remove the plastic skid plate which is held with 8mm screws up front and the sides, and T30 Torx screws on the back. The reinforcement plate behind it is held by 16mm bolts; there are 8 of them. These are “one-time” use, so I bought a set to replace them when I was done.
Drain the oil. The oil drain bolt is a 6mm hex. Also loosen the filter, open the oil filler cap, and remove the dipstick to allow the oil to drain fully.
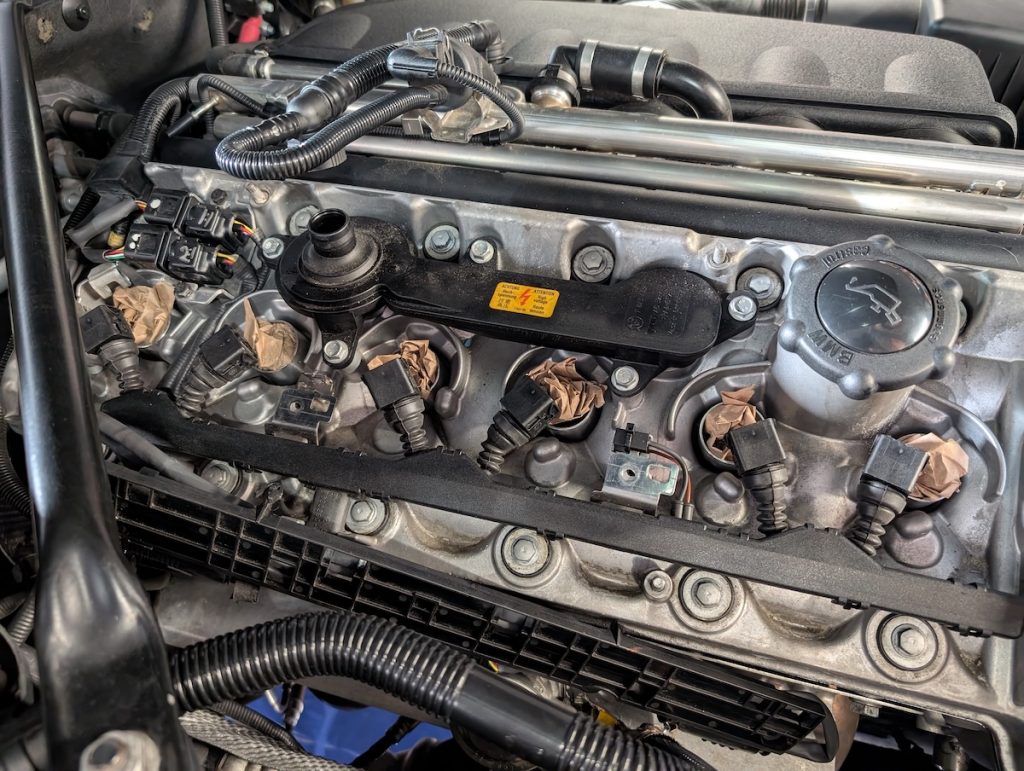
Remove the spark plugs. Supposedly this helps when turning the engine over, so I took them out. Just remove the cosmetic cover (6x 10mm bolts), then pop out the plugs. There are lots of Youtube videos on how to do this so I won’t go over it here. Plug the exposed holes to prevent anything from getting dropped inside. Organize the coils and plugs so you can put them back in order:

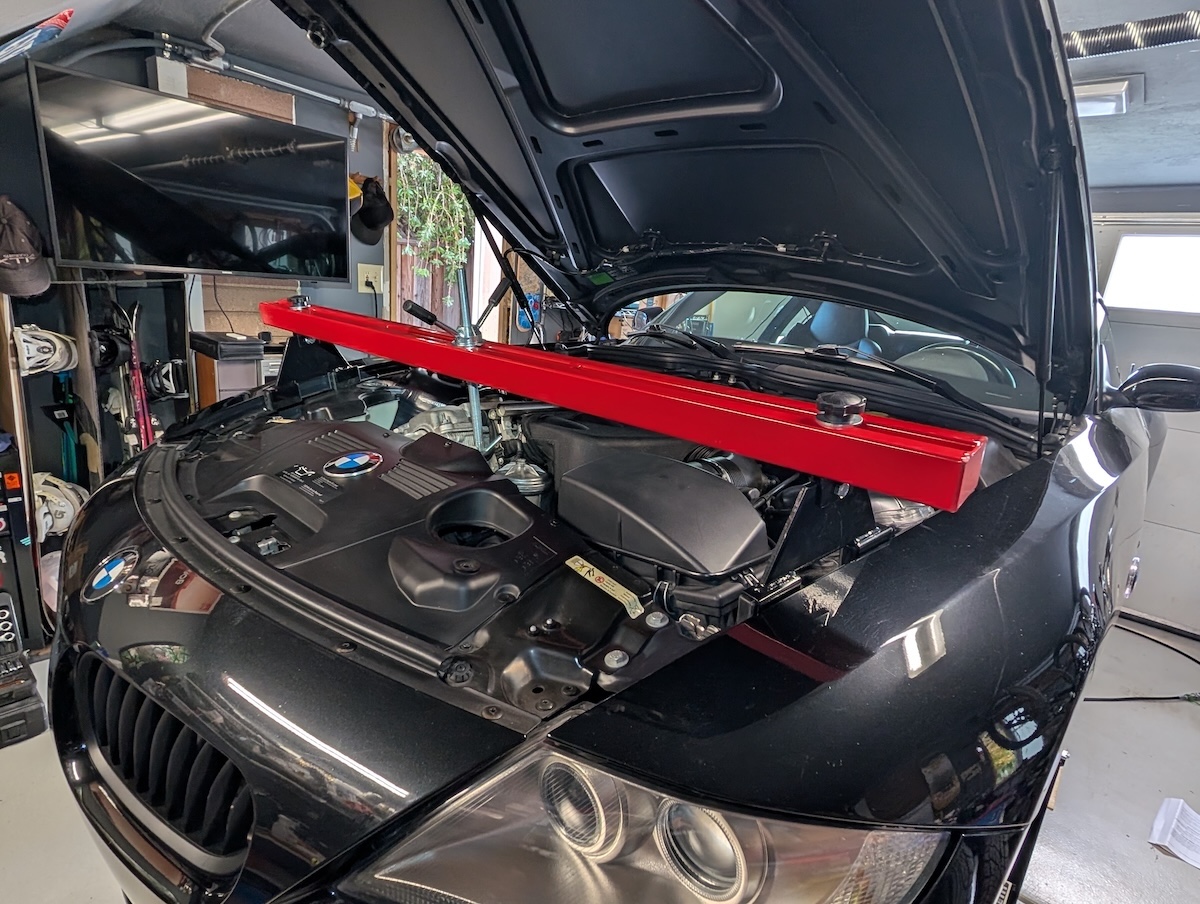
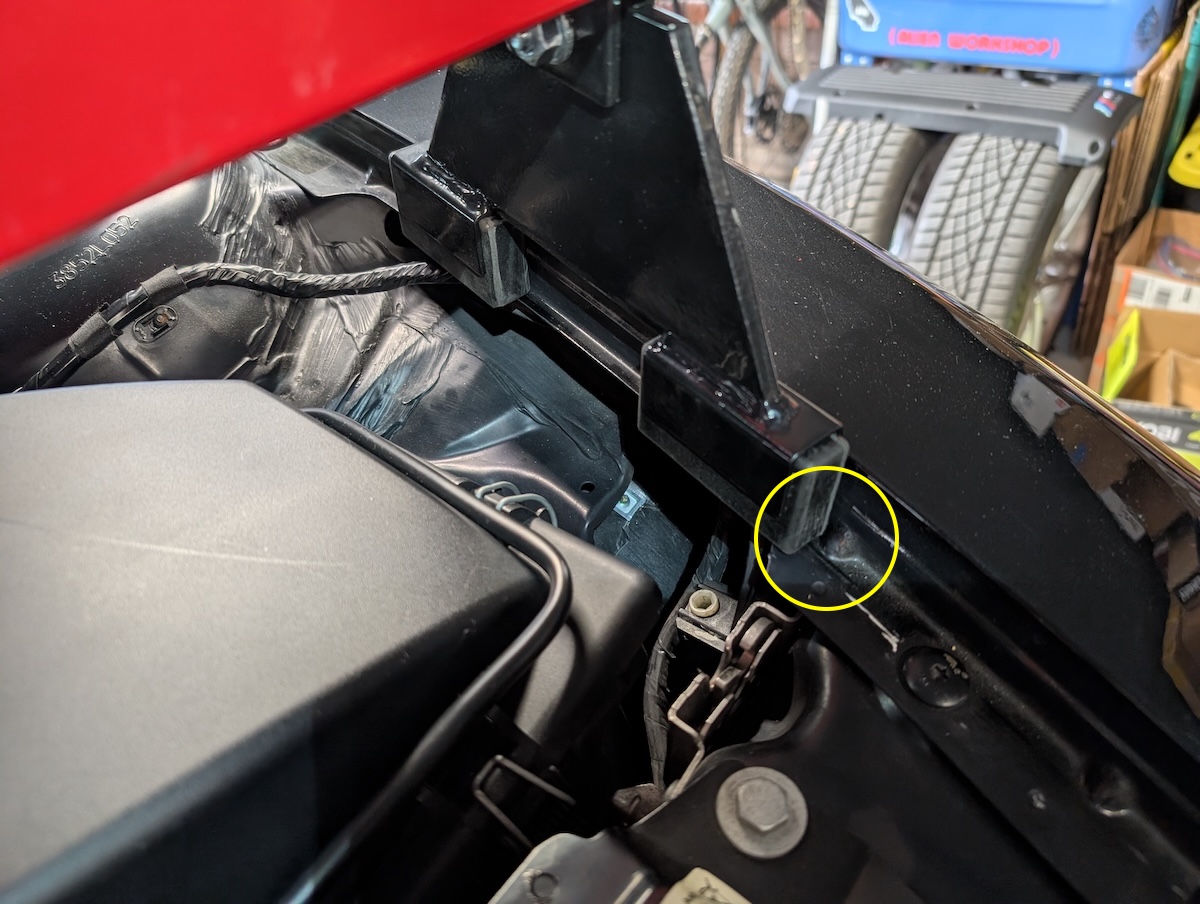
I then attached the Harbor Freight engine support bar ($80). This is a little tricky on the Z4, as the edges of the fenders are quite thin as compared to the e46. I tried to place the support on a diagonal so that it was better supported underneath the footing areas, but the design of the bar and feet don’t allow for much rotation to align over the lifting point on the engine.
In the end, I found the best position was inline with the lifting point, so that the bar foot was just behind a dimple in the fender edge. The idea was that the dimple would keep the feet from sliding forward. Make sure the feet aren’t tilted in any way and are square with the bar. Attach the lifting hook and start tightening it to hold the weight of the engine. Make sure the bar’s feet are secure and tight as you proceed. While it looks a little sketchy, the bar had no issues supporting the weight and nothing slipped. Obviously this would be catastrophic if it did, so double check everything is secure before moving back down below!
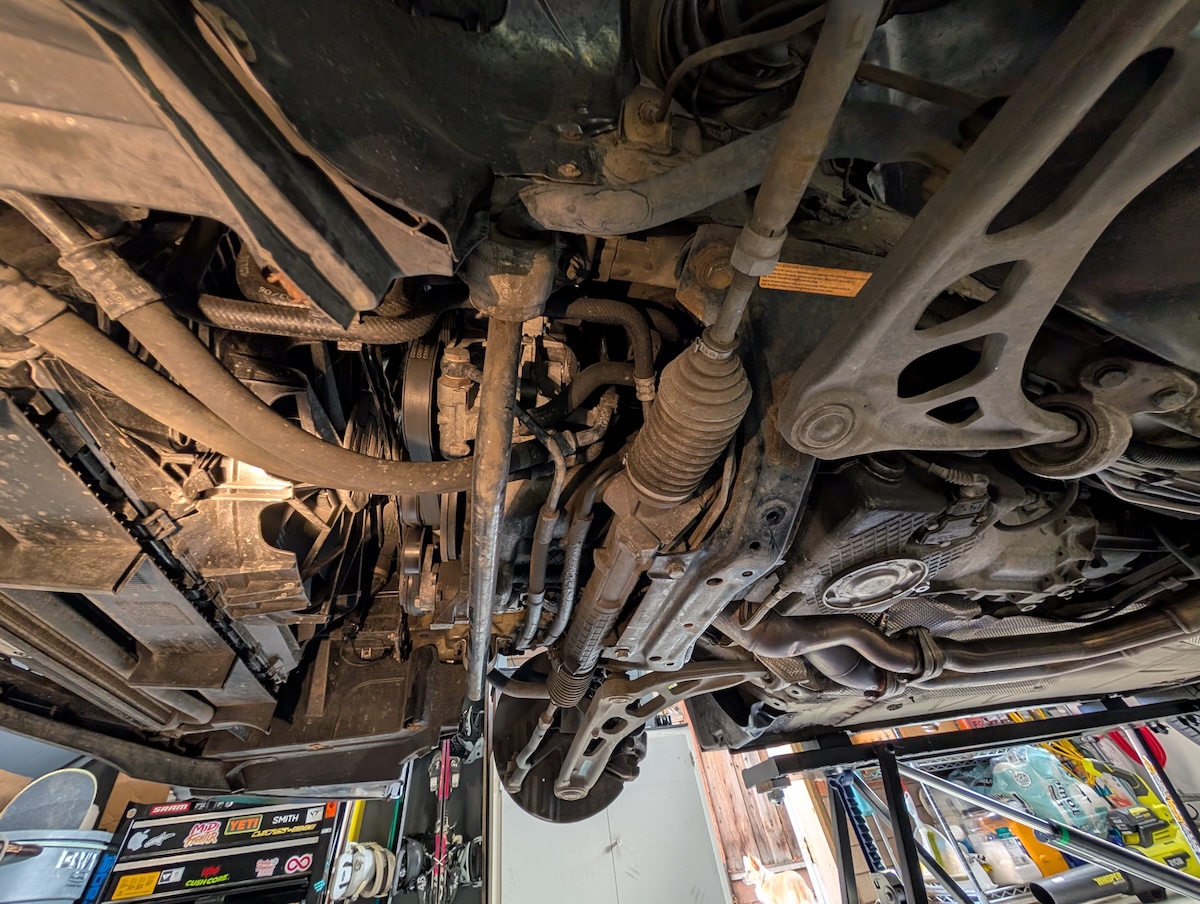
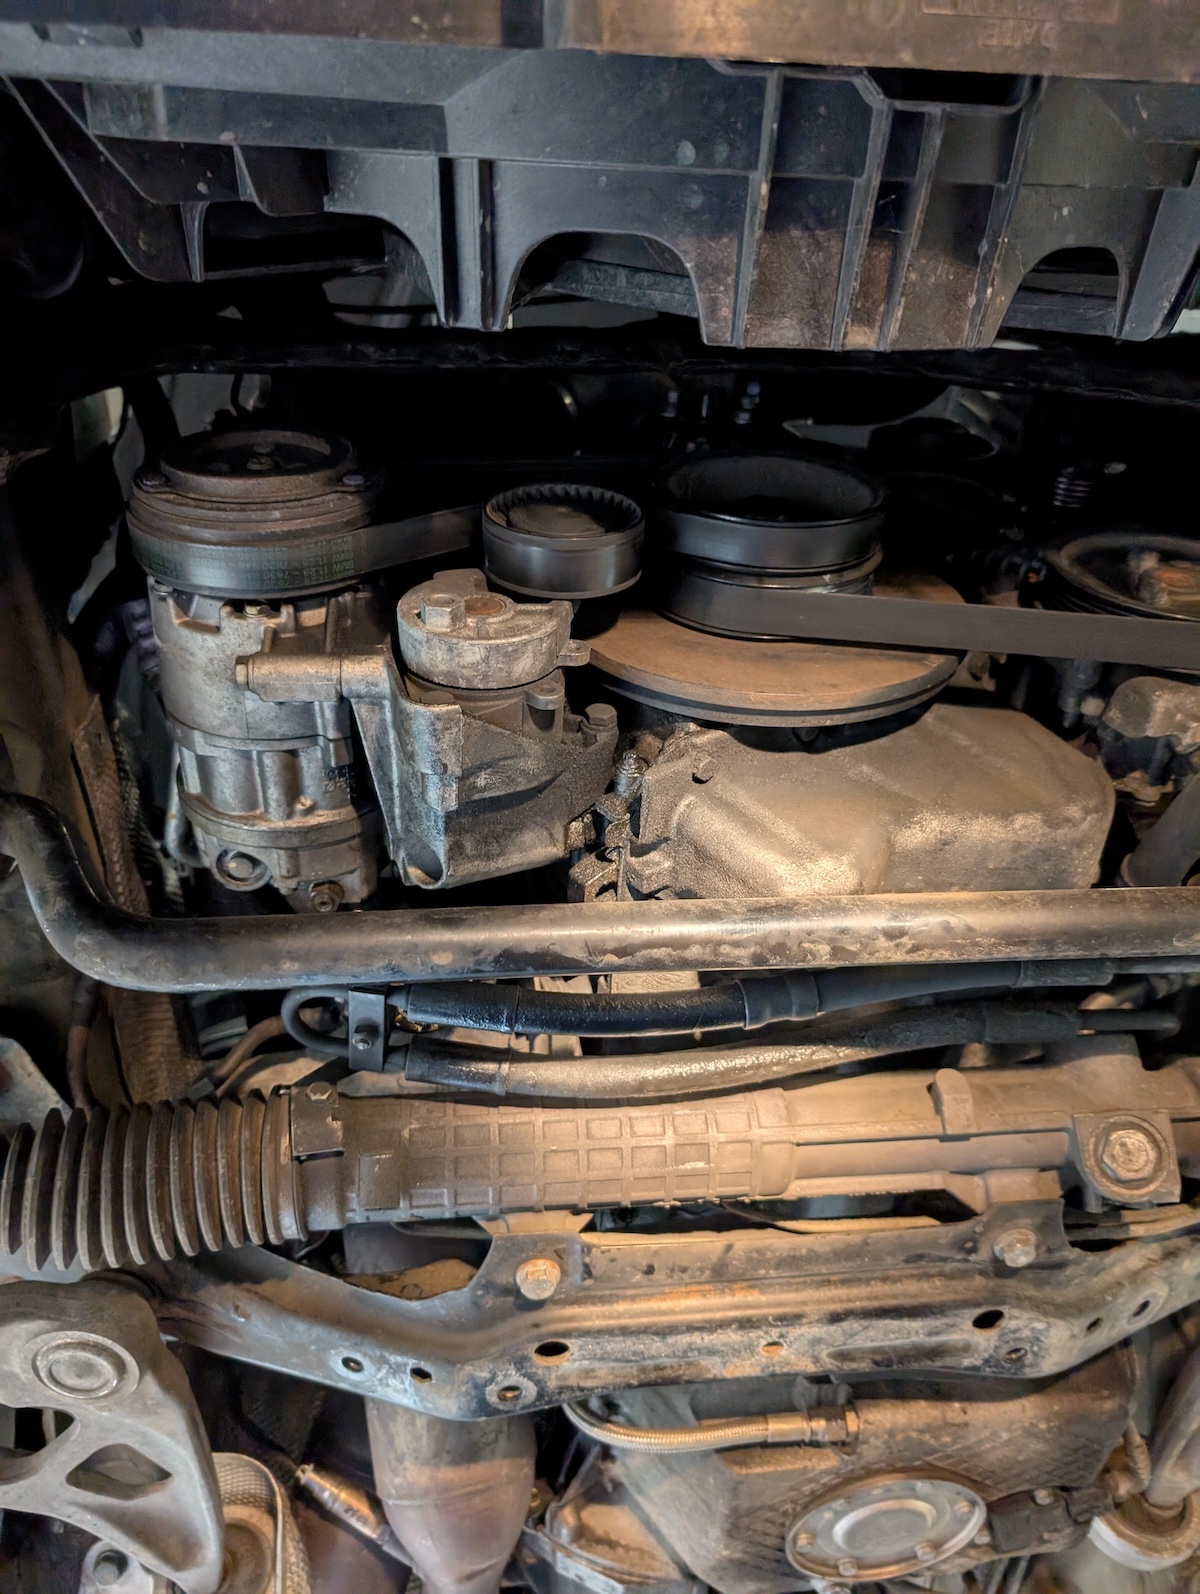
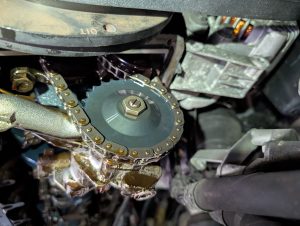
In the FCP video and writeup I used, they begin by removing the fan/shroud and air box for better access. On the Z4 M you don’t need to remove anything up top; you can access the crank pulley, belts, and pumps from underneath the car pretty easily as there is plenty of room:
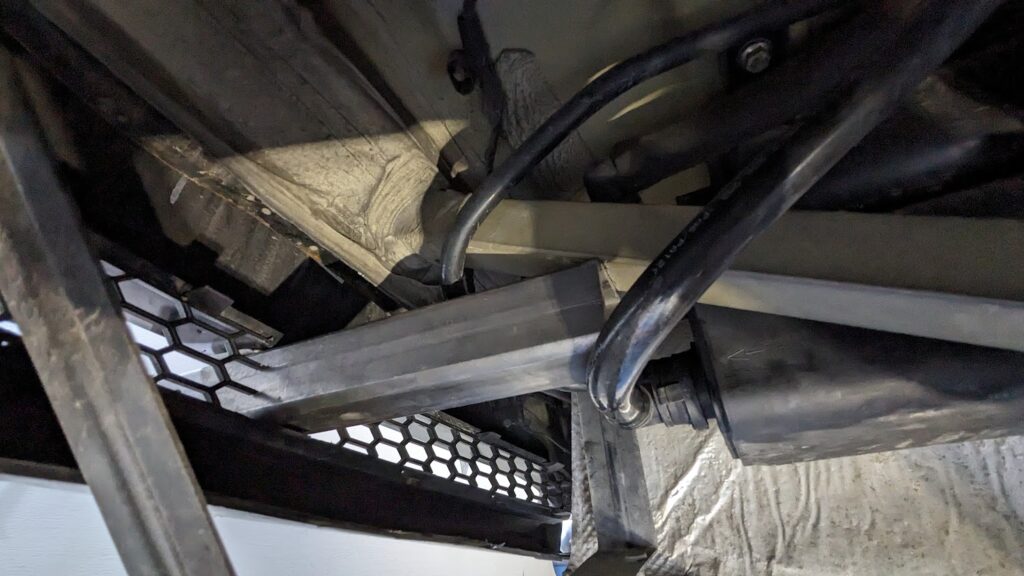
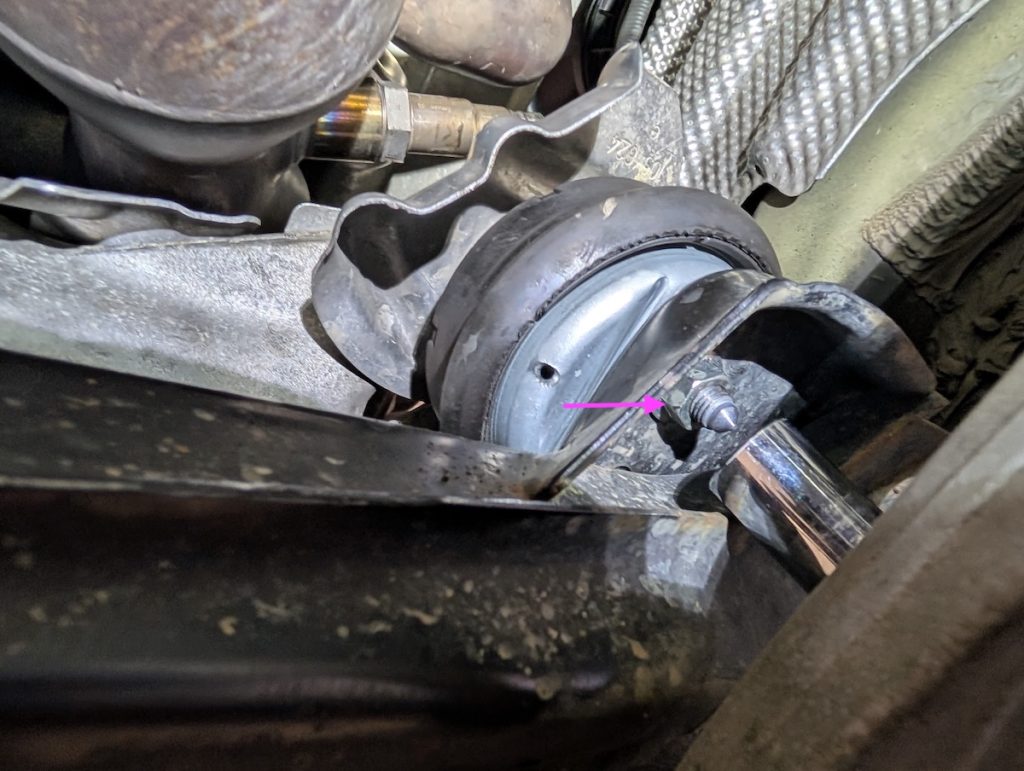
Take apart the subframe and steering components. Follow along in the FCP video to unbolt the control arms from the frame rails (16mm socket), the engine mount bolts (16mm socket), the sway bar bolts (13mm socket). Leave the four 18mm subframe to frame bolts attached for now, but you can loosen them.
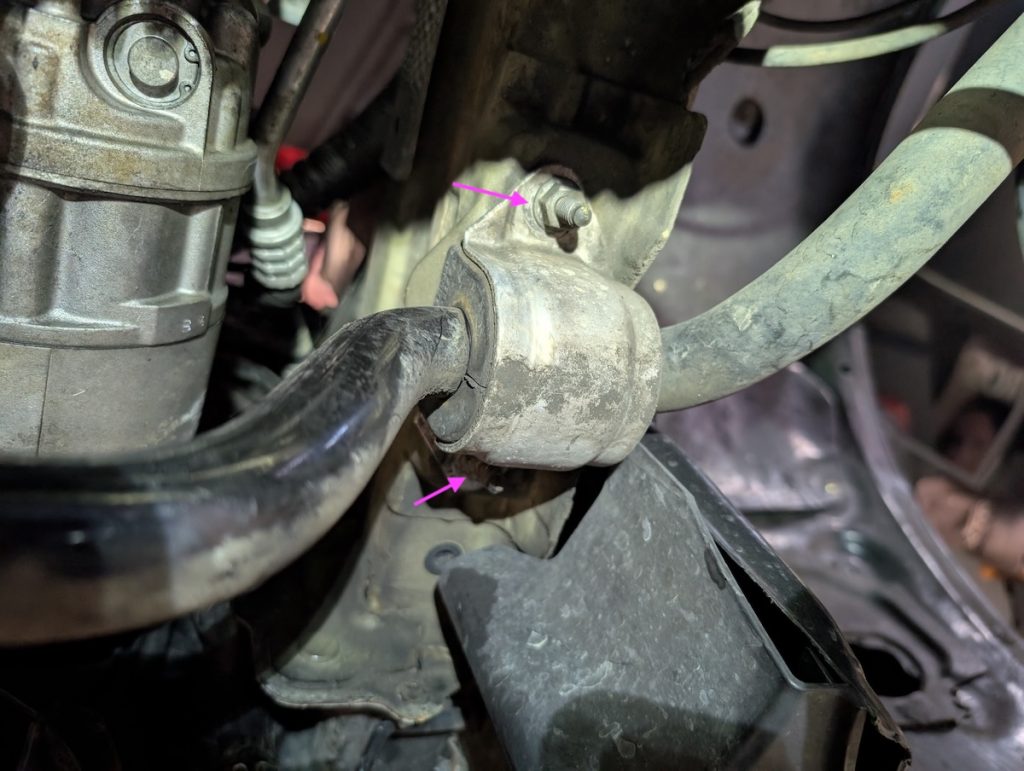
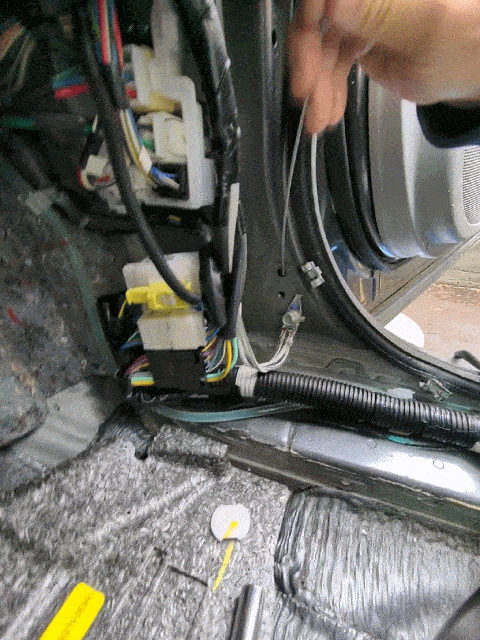
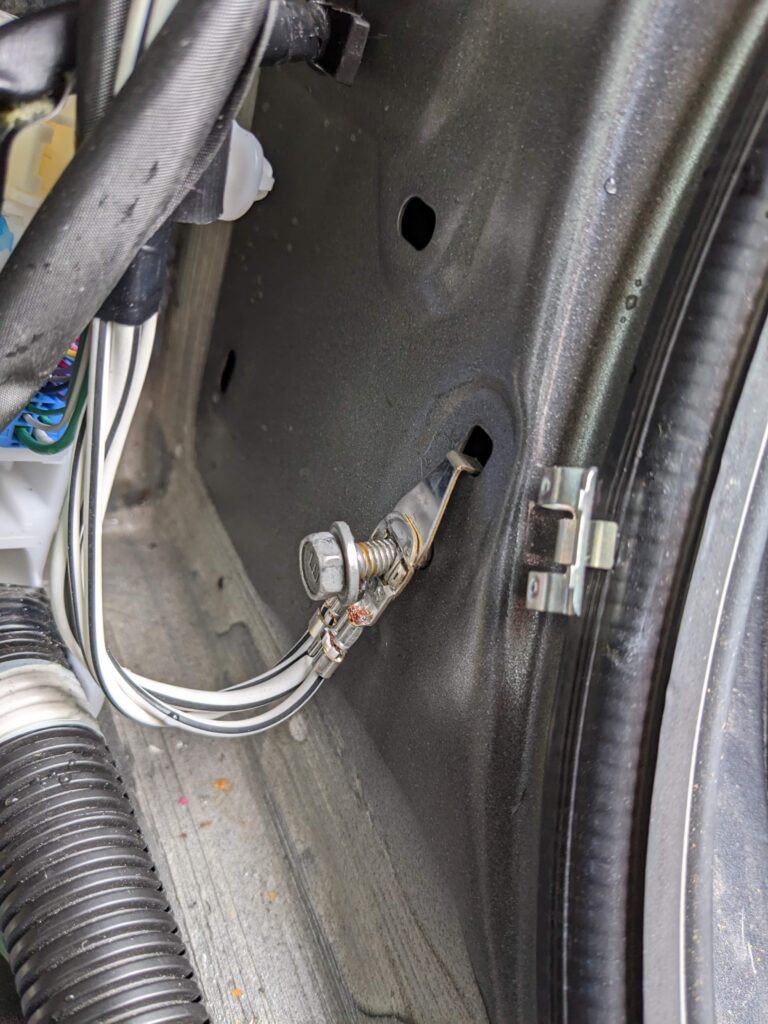
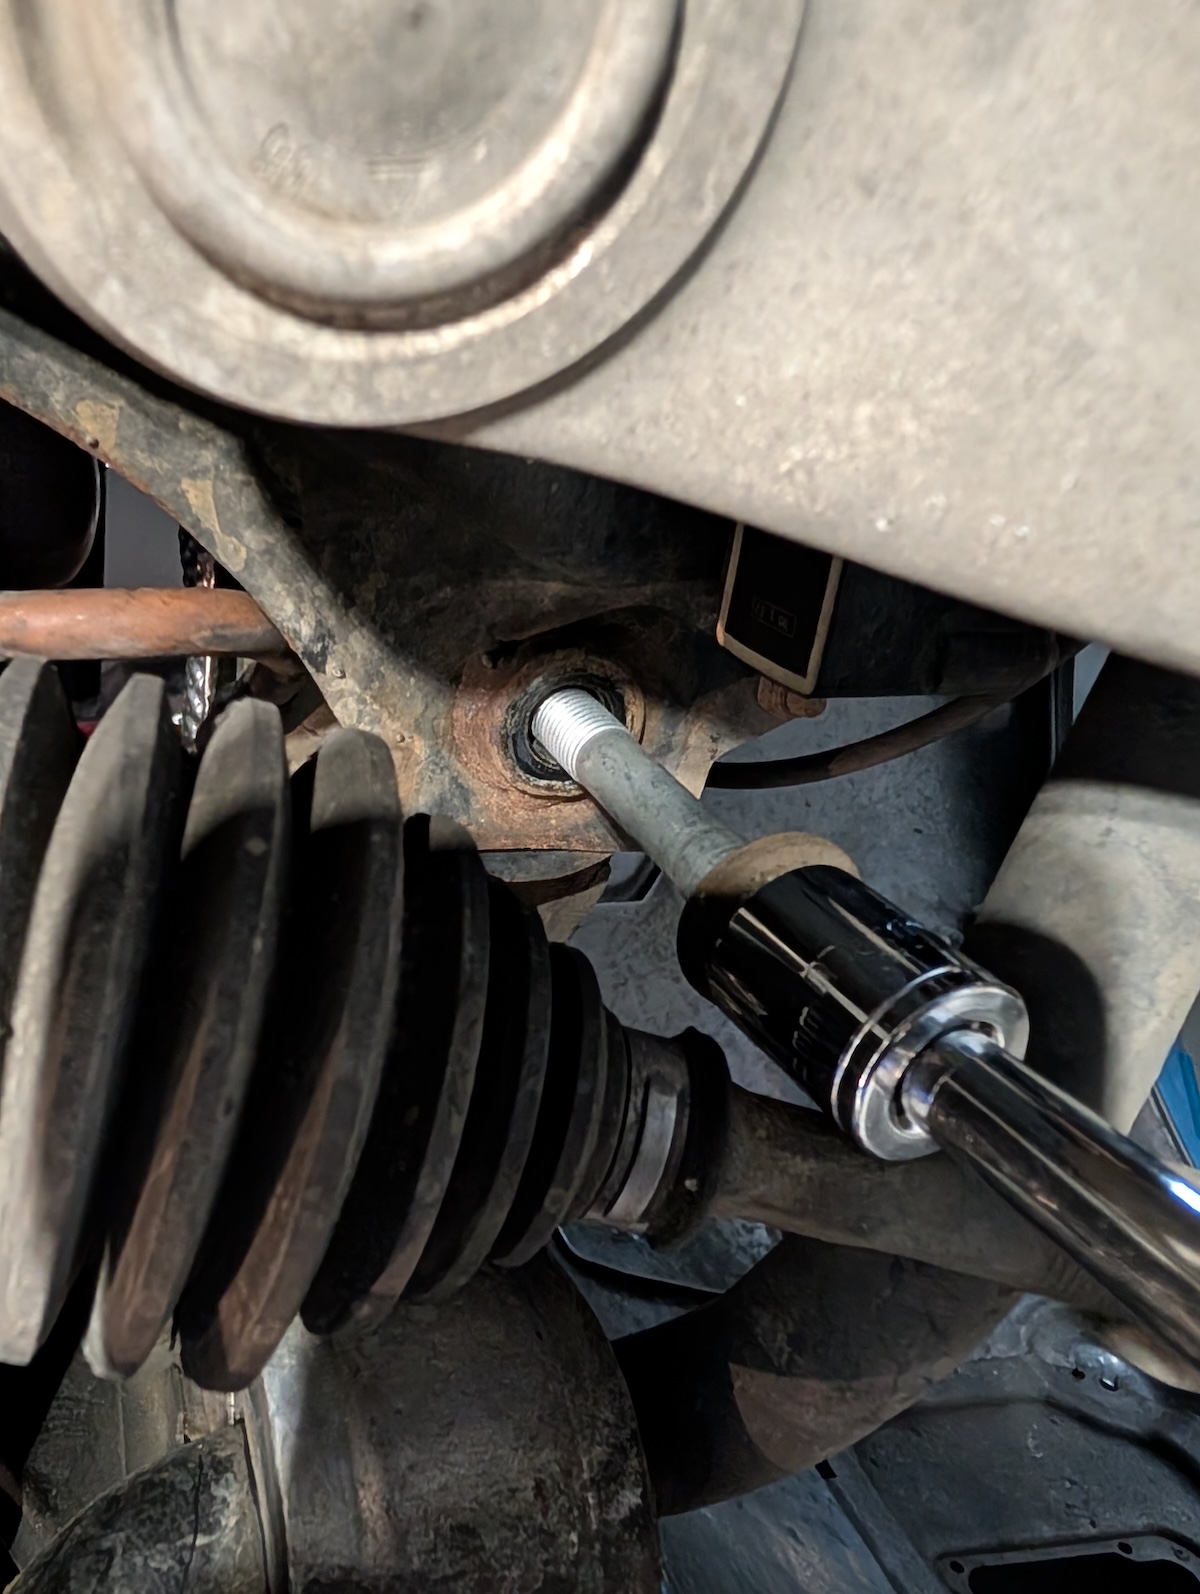
On the Z4 M, the headlight level sensor is attached to the right control arm by a 13mm(?) nut. Once removed, pull the sensor out of the control arm. You also need to disconnect the level sensor wiring harness as shown in the FCP video.

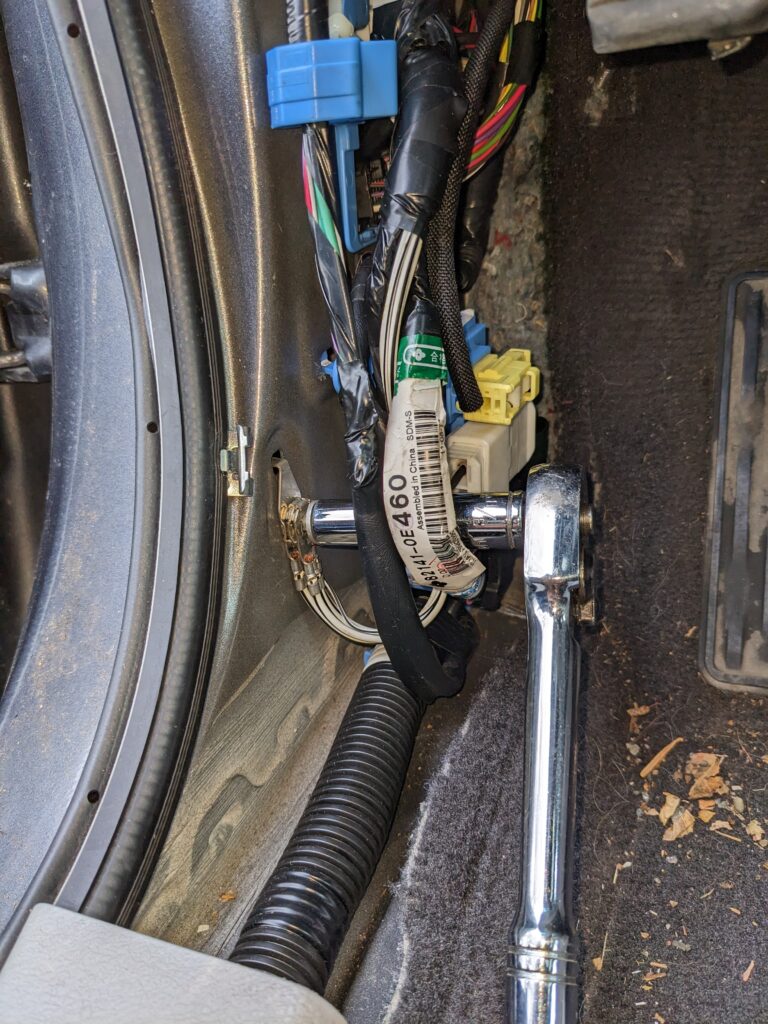
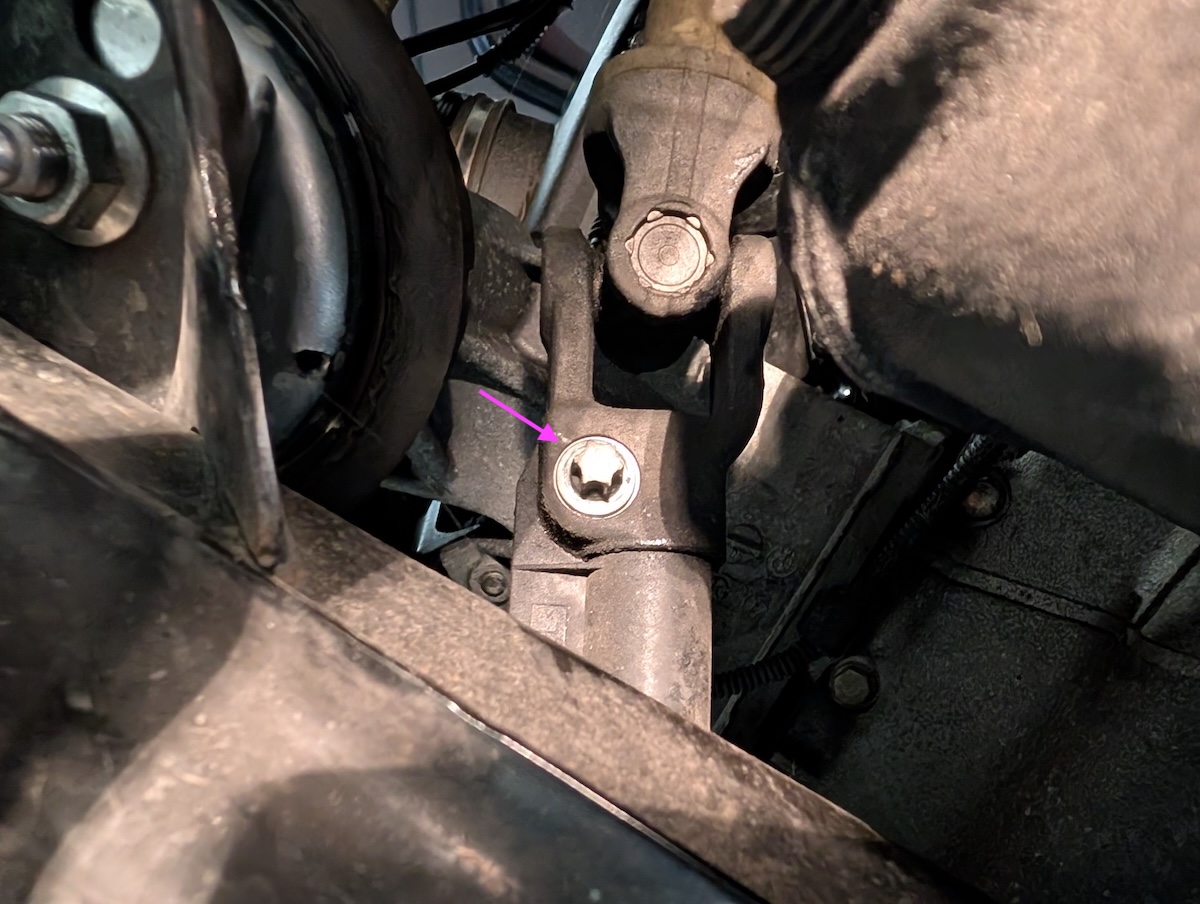
Use an E10 Torx socket to unbolt the steering column from the coupler. This is located on the driver’s side. I marked mine, but it wasn’t necessary as it can only go back in one way. Once it is removed, push the telescoping steering column up and into itself to detach the two pieces.
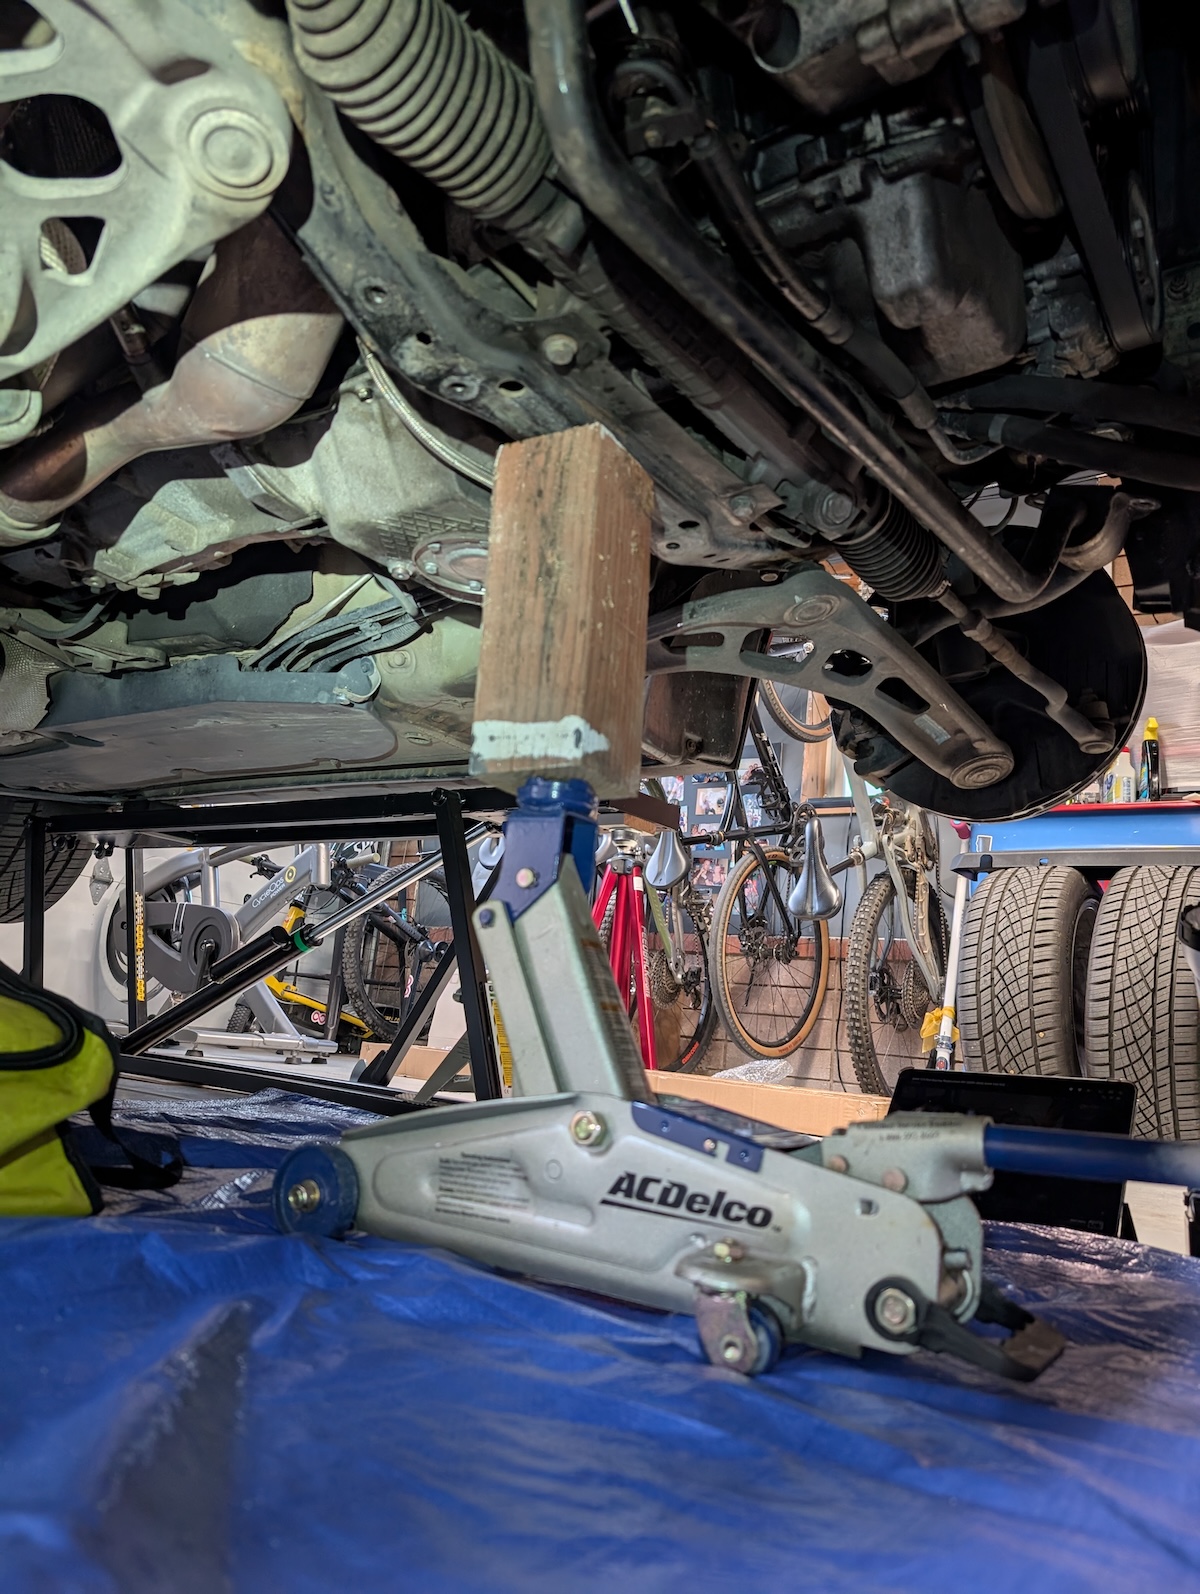
Place a jack under the subframe to support it. I used a piece of 4×4 post. Once in place, you can unbolt the 4 remaining subframe bolts. Slowly release the jack in small increments. The engine will begin to be supported by the bar up top, so make sure everything is secure and nothing is slipping!
Once the subframe is clear of any protruding bolts, the subframe will be free and you can remove the jack. The engine is now fully supported by the bar.
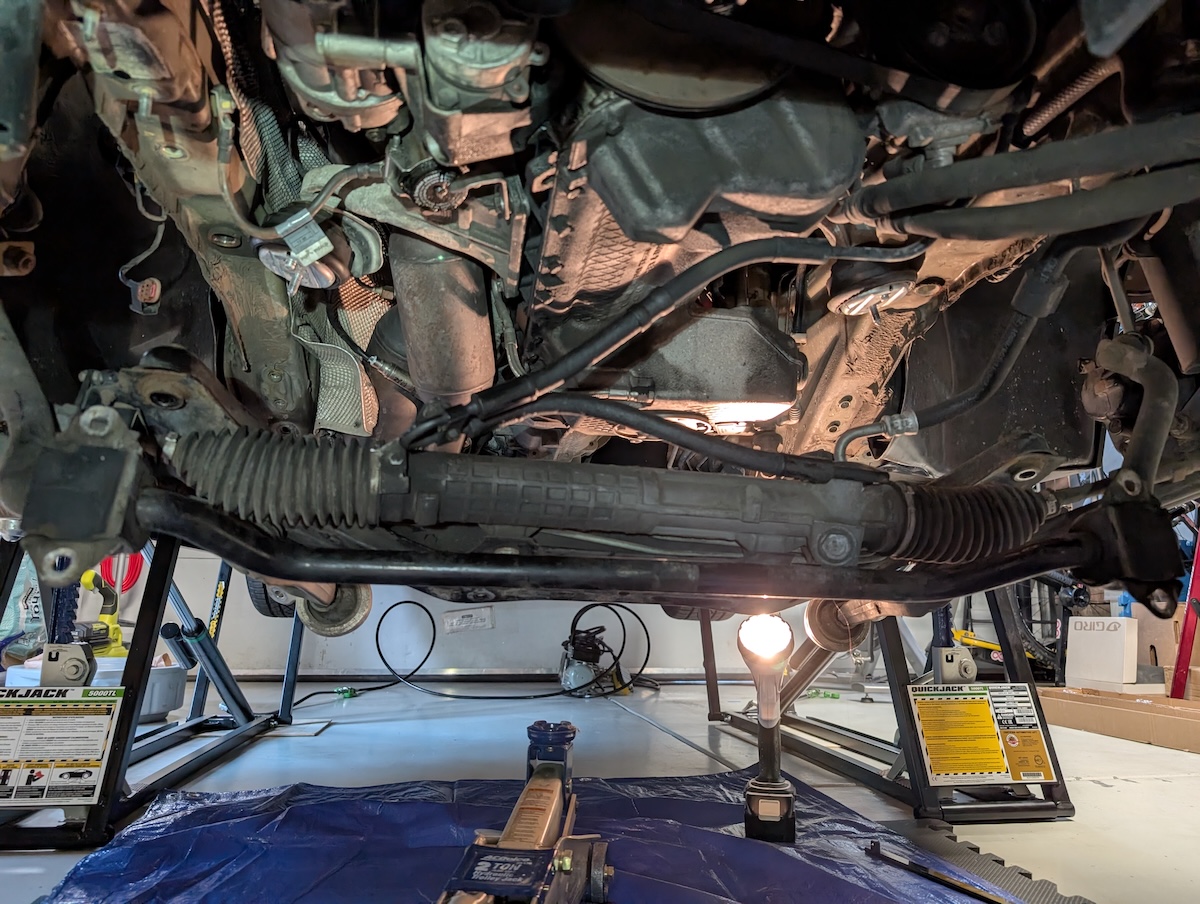
Next, detach the power steering hose bracket from the subframe. This will allow you to move the hoses out of the way when dropping the oil pan later. Use an 8mm hex in the tension pulley and turn it clockwise to relieve tension from the drive tension pulley and slip off the drive belt from the power steering pump. Then remove the power steering pump: there are two 13mm bolts in the front of the pump, and another shorter 13mm bolt in between the hoses that secures the pump to the pan. The FCP video shows the removal process.
Continue to follow along with the FCP video to detach the oil level sensor, dipstick tube, etc. Basically, detach anything that is connected to the oil pan so that it can be removed.
This is optional, but I also removed the oil pan cover to drain some additional oil. Removing the cone-shaped aerator may also help with the pan removal.

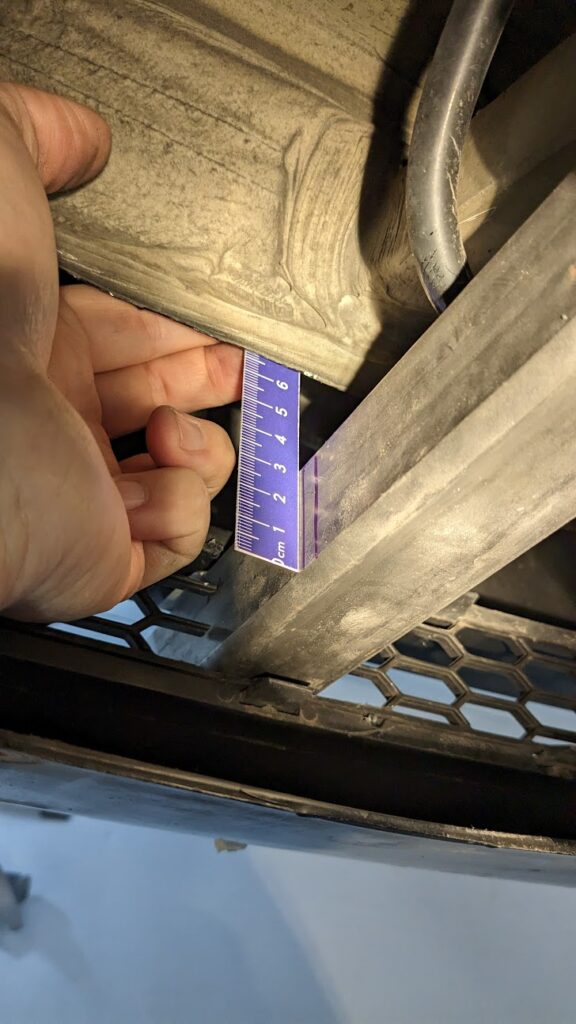
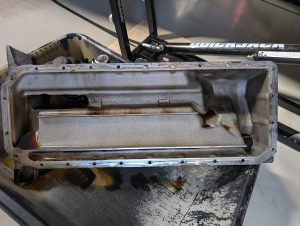
Remove the oil pan: There are 25 10mm bolts securing the pan that need to be removed. 20 of the bolts are 20mm long, but there are two long 95mm bolts that attach to the very rear of the pan, plus 3 slightly longer 25mm bolts. Be sure to keep them organized. I marked the holes on the pan with a Sharpie for the three 25mm bolts so I could remember where they go.
Once the bolts are removed, grab the end of the pan and rock it to break it free of the gasket seal. You’ll then need to pull it down and backwards, bending the power steering hoses a bit to squeeze it out. Nice, you did it!
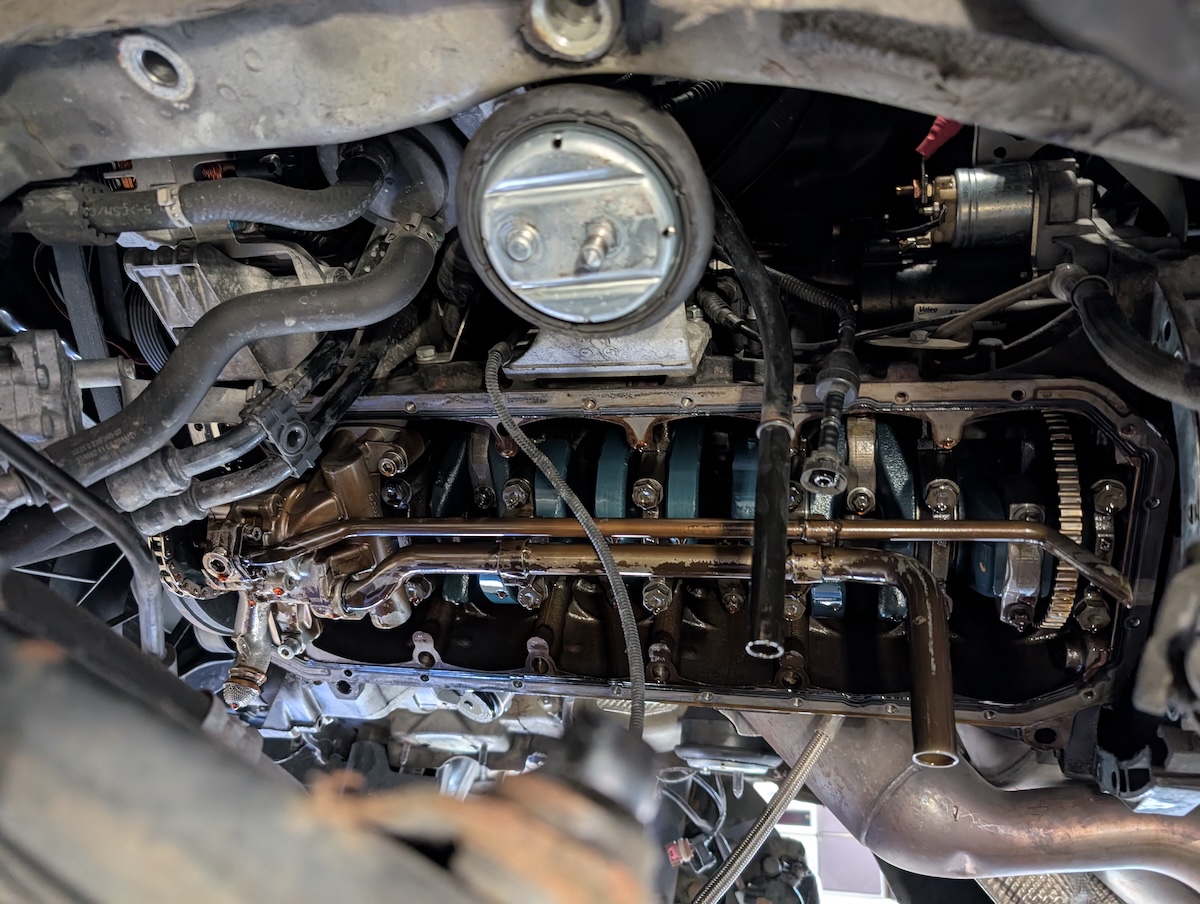
Surprisingly, my pan was VERY clean. Almost no sludge or burnt spots at all. The oil pump wheel was also pristine. Hopefully this means the previous owner(s) did frequent oil changes. I did see some signs of oil leakage on the front-driver’s side of the pan, as evidenced by burnt oil stains there.
Follow the FCP video to remove the oil return and suction tubes. Then remove the pump disc with a 17mm socket. Note: It’s reverse threaded! Once the disc is out, you also need to remove the oil pump which is held on by three 6mm hex bolts. The FCP video skips this part, but you can refer to the writeup for detailed instructions.
Replace the Rod Bearings: The part you’ve been waiting for! The FCP video does a great walkthrough on how to do this, so I would just review it a few times and just go for it!
This is where the ARP Stretch Gauge comes in. Check out this video from ShopLifeTV on how to use it in order to obtain the correct rod bolt stretch so you don’t overtighten the rod caps/bolts. If you use OEM/BMW bolts you will need to follow the torquing procedure outlined in the guides at the top of this post and perhaps check clearance with Plastigauge to ensure you achieved the correct torque. Since I used the ARP bolts I relied on the gauge to obtain the correct stretch/torque instead. FWIW, the BMW bulletin does not require measuring the clearances, but it’s your call.
Here are my removed bearings:
TBH, the removed bearings didn’t look too bad to me, based on others I have seen online. Most of the wear was in the tips of the bearings which I believe is pretty common. I did see a couple spots with some copper, but many still had the original coating intact. In fact, I have reason to believe they might have been done before, as the crank caps had what appeared to be a white-yellow dot mark on each one, which could indicate someone marked them as they were replaced. Then again, the Blackstone analysis still showed high lead and iron, so there’s that.
Installation is reverse of removal…. (don’t you hate that?)
In all seriousness, refer to the FCP video and the writeup for exact torque specs when reassembling everything. Just take your time and double check everything.
Some tips for next time (if ever) would be to:
- Applying assembly lube to the top bearing: One issue I had when changing the bearings was applying assembly lube to the top bearing. The Permatex lube I used was too viscous and it was impossible to apply to the top bearing and not have it just drip off when upside down. Maybe a thicker assembly paste (Redline or LiquiMoly?) would have worked better. One tip is to apply lube liberally to a removed bearing, then place it onto the rod surface and spin it around to fully coat it.
- When reinstalling the pan, make sure the dipstick tube gets inserted as the pan is being installed. Mine didn’t, and it was pretty time consuming to remove the tube from the top side and detach it from its anchors and get it threaded in from above.
- Remove the oil pan aerator and install it AFTER the pan is reinstalled, as it is much easier to guide the oil tube into the cone aerator once the pan is back in place.
- As you remove bolts during disassembly, put them onto some paper or bags and mark them with the part they came from and the size as well as the torque spec if you can. So when you are reattaching everything, you can just look at that and grab the correct socket size right away. Big time saver.

- Lastly, getting the control arms back on was maybe the most difficult part of the process for me. It’s VERY easy to cross thread the bolts here, so make sure you get the alignment dowels seated and bolts hand started before cranking them down. I crossed one of my bolts and was the only issue I had in an otherwise problem-free job. Luckily I was able to retap it and get the bolt to the 59nm torque spec.
Finish off the job with the standard oil change. Bill has a great DIY oil change guide that’s easy to follow.
Cross your fingers and start it up! You got this!
Break-in period. Opinions are mixed on this. Again, as it is considered a maintenance item, some say no break-in period is required, while others say keep your driving habits moderate (no redlining) for 500-1000 miles, then perform an oil change. Personally, I think I’ll use my road trip as my break-in period, but not shy away from any spirited driving should the opportunity present itself!