
I’ve had this Lezyne Steel Drive floor pump with Digital 2.5 Gauge for at least 10 years. I use it all the time and it’s been super reliable and accurate.
Until last week.
As I pumped, air was escaping…from the gauge itself! If I cupped my hand around the face, I could feel the air pushing out from around the edges.
I figured a seal must have finally failed over the years, so I decided to investigate. Unfortunately, it’s damn near impossible to remove the gauge without completely destroying it! There is nothing to grab onto except for the battery compartment with the cover removed.
Upon checking Lezyne’s website, I saw that I could order a new gauge for about $45. So at this point I figured I had nothing to lose by trying to fix it, so I drilled a small hole through the top edge of the gauge face to try and remove it in a mostly non-destructive manner…
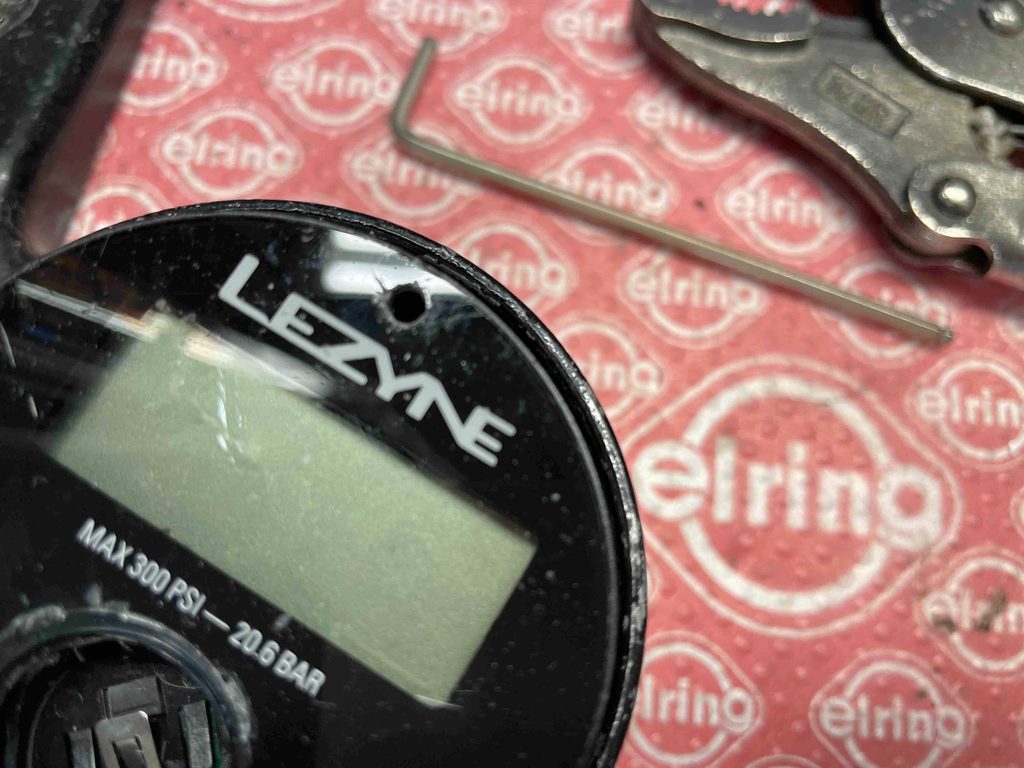
I did this so I could then insert a small hex key, which would then give me some leverage by using the battery compartment as the other anchor point to twist the gauge with a longer screwdriver. I had no idea how the gauge was attached to the pump body, but thankfully it was threaded in!
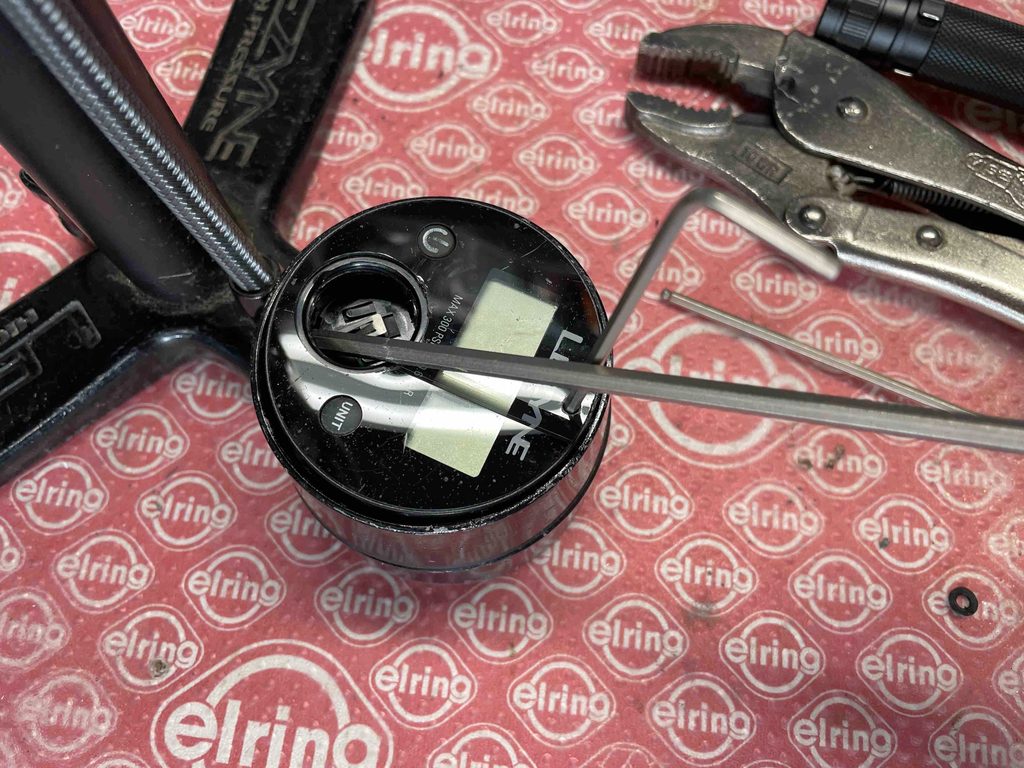
There was some initial resistance, then I heard a LOUD CRACK, and finally the gauge unthreaded and was free. The crack was the sound of the glue or mastic Lezyne used at the factory to secure the gauge to the pump body and also make it airtight. So to remove the gauge I had to break this seal.
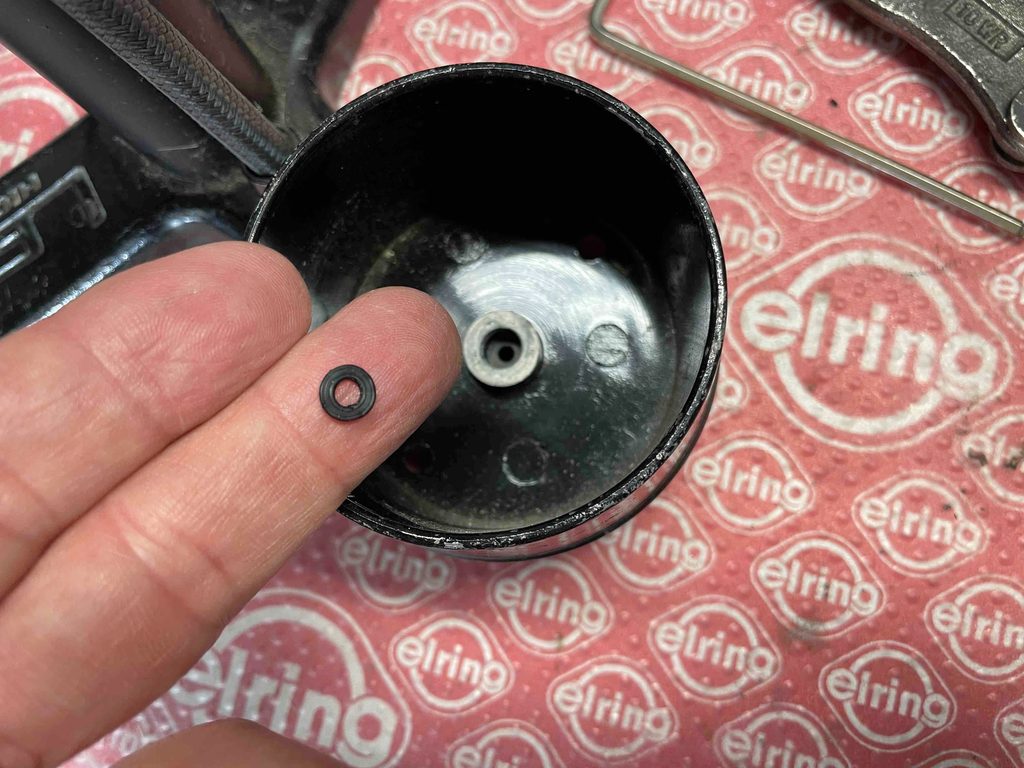
Once removed I could see the rubber seal at the bottom of the pump body and fished it out with a pick. I’m not sure if this gasket used to be an o-ring or not; it was certainly very flat and not donut-shaped at all.
I then stuffed a similarly-sized oring into the base and threaded the gauge back on to test it. With my hand pressing down on the face, the gauge was still working.
After a little more fiddling, I tightened the gauge down a bit too far, and felt the thin plastic threads give way. I stripped the threads! Why or why are the gauge threads made of plastic?!!
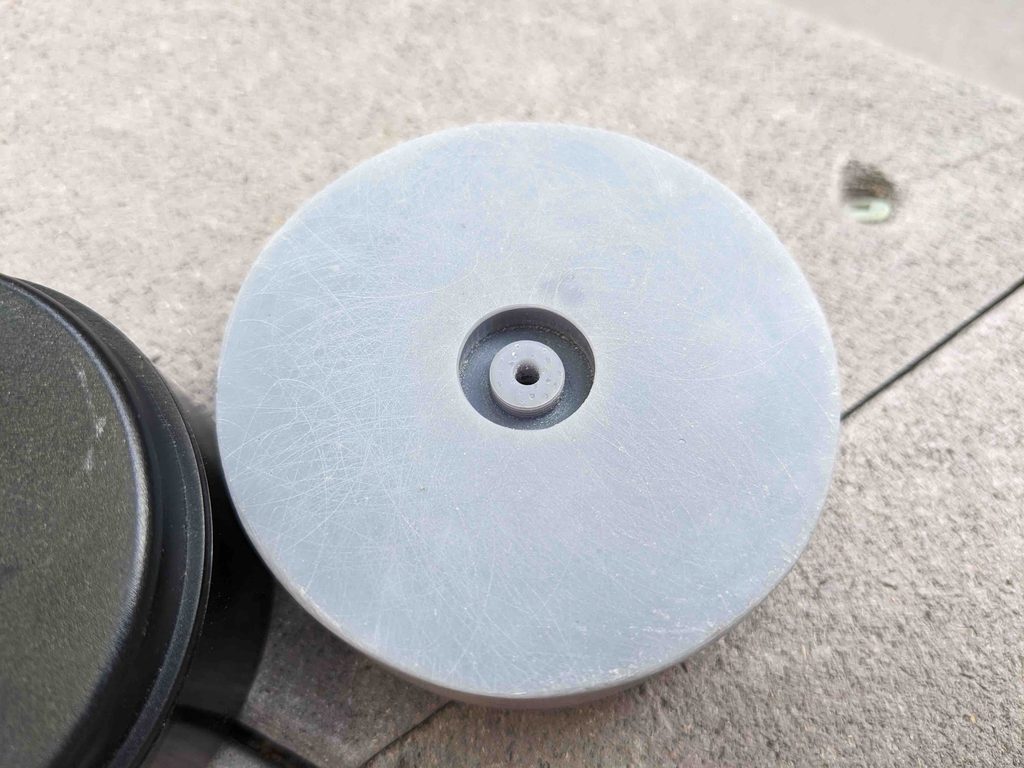
So now I had to find a way to re-thread the stripped threads. After some thought I figured it was kind of impossible, so the only idea I could come up with was to 3D print a sort of sleeve/adapter, to extend the threaded portion of the gauge and the other end would then have new threads printed into it.
This is what I came up with:
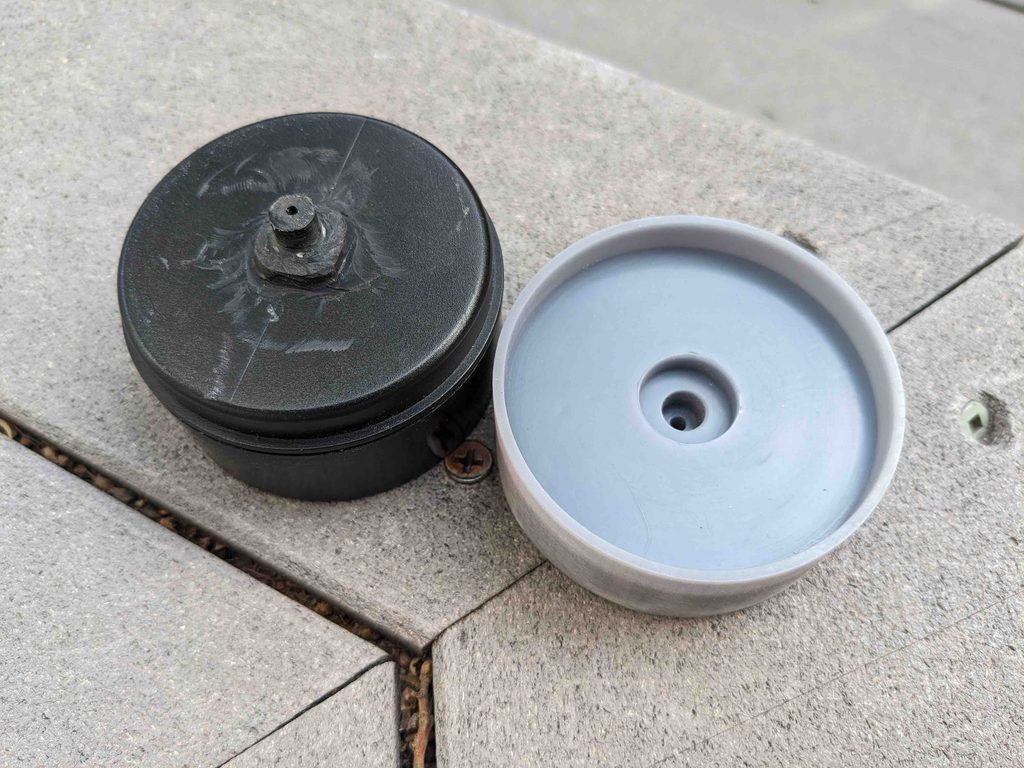
There was quite a bit of hard mastic glue on the gauge that I had to remove, so this is how it looked cleaned up. The idea was to epoxy the bottom of the gauge to the adapter, making it airtight.
Bottom side:
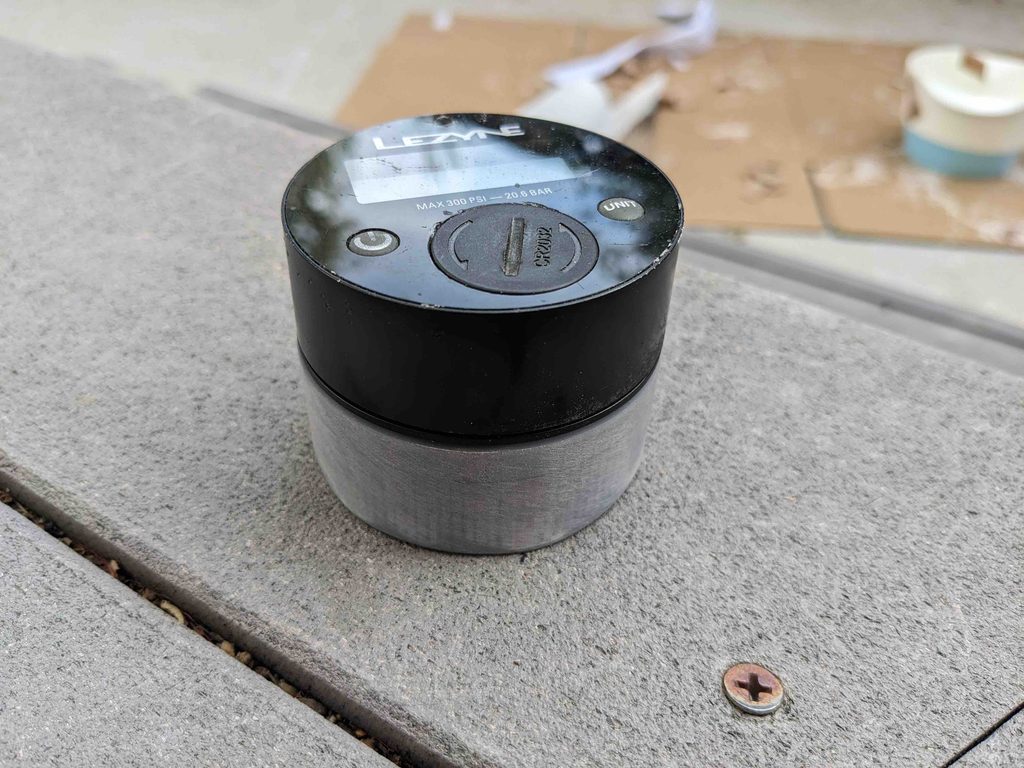
I then sourced some “lifetime” Viton o-rings from Amazon in 7mm OD 3mm ID 2mm size. These Fluorine Rubber O-Rings basically never degrade and never lose their elasticity, always rebounding to their original shape. I wanted o-rings that would basically never have to be replaced again, since I was planning to permanently attach the gauge to the pump body.
I inserted one of the o-rings into the top half of the adapter, then used JB Weld plastic bond epoxy to glue the two parts together, using a quick clamp to press the pieces together while it cured.
I then used a wire wheel on my drill to scuff up the powdercoat on the bottom of the pump body so that the epoxy could adhere better. While the seal itself should work for sealing, the epoxy would ensure it! Forever!
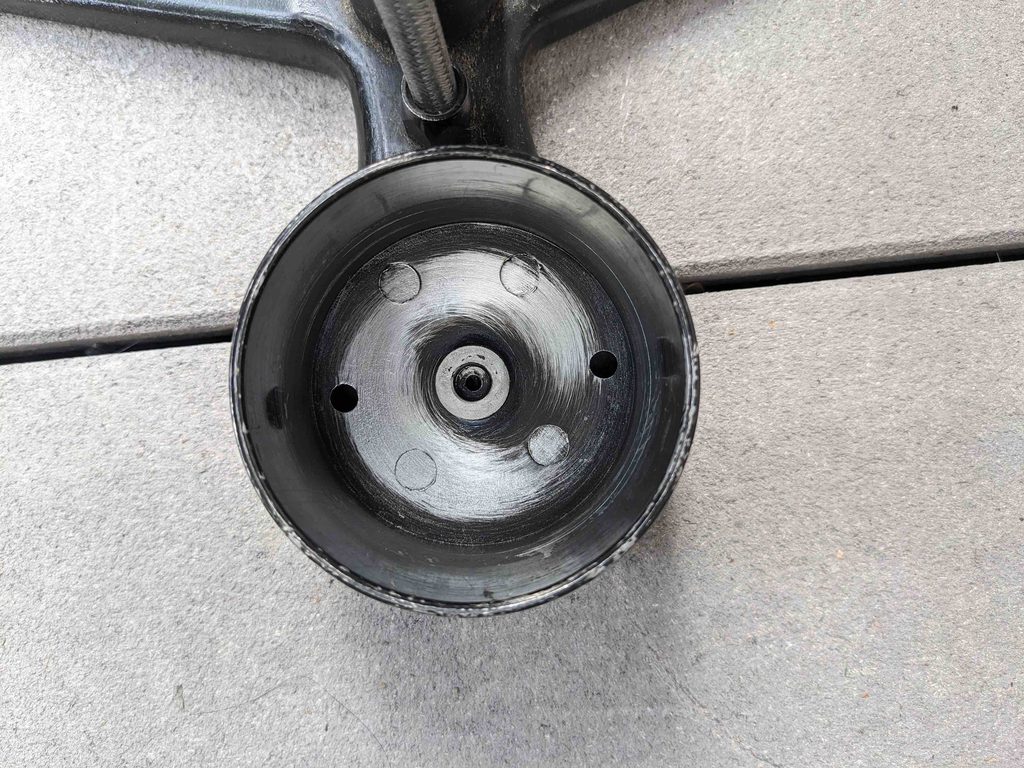
One more o-ring in the pump body and I threaded on the gauge assembly, being careful to not strip the threads this time! I could feel the resistance as the bottom hit the o-ring and snugged it up.
A quick test and the gauge and pump are working perfectly with no signs of air loss!
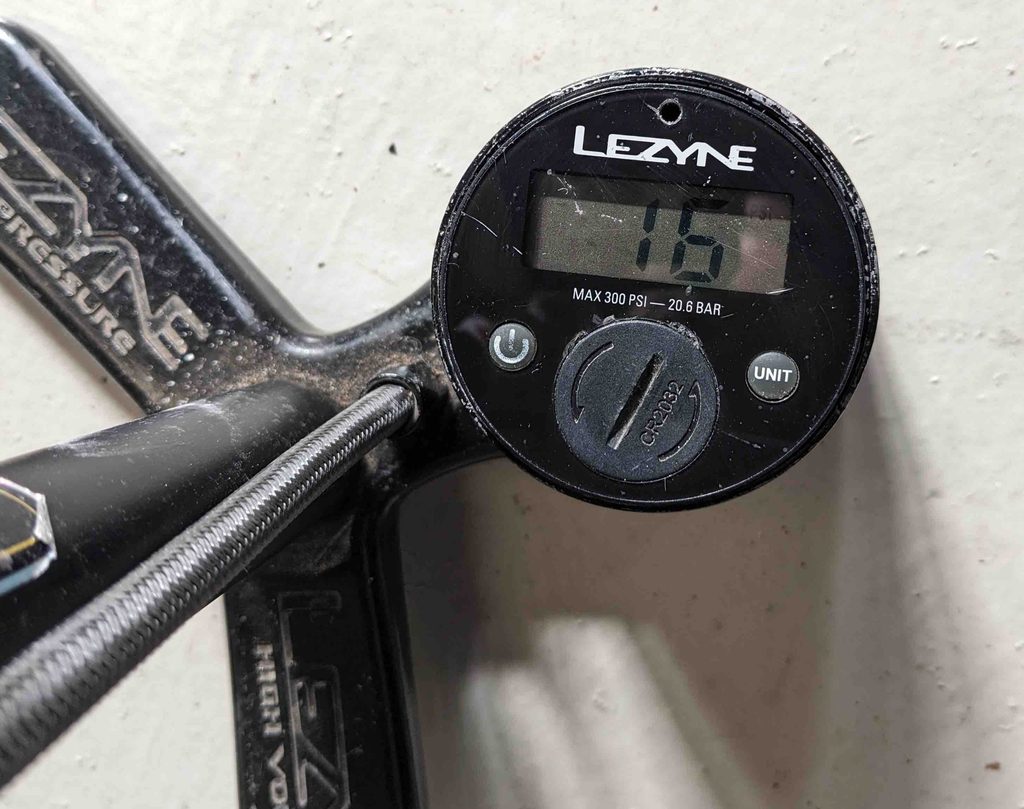
While I had planned to epoxy the assembly into place permanently, I decided to leave it just threaded in for now. The pressures I deal with for my bikes are very low, usually no more than 30psi, so I will see how this holds up for now. If it fails, I’ll go ahead with the epoxy, clamping it down while it cures for good measure.
I call this a win! And a waste of time!